
Our first photography class is now complete. Thanks to everyone who participated! (scan below to see what we covered, we might do it again sometime).

Beginner Photography with Matt Brass and Jesse Brass
November 7, 14 & 21 | 7:00 p.m.
Learn your camera (DSLR, mirroless or point and shoot) with local creative professionals
Matt and Jesse Brass at the Table (a center for community and learing)
Topics covered will include:
• Understanding camera technology
• Basic composition
• Storing/sharing/printing options in the digital age
Curriculum: Day 1
I. Introductions: People, place and things.
II. Discussion: What are your goals. What do you want to accomplish with your photography? Memories? Art? Documentations? Prints?
III. Brief overview
IV. The Big Three. ISO | SHUTTER SPEED | APERTURE (don't freak out, you don't have to learn this today)
ISO: is the measurement of how sensitive a digital camera's sensor is to light.


Camera quality affects ISO performance.

Shutter Speed: the time for which a shutter is open at a given setting. (so, what's the shutter? Good question)
How does this impact my photos?

30 second exposure.


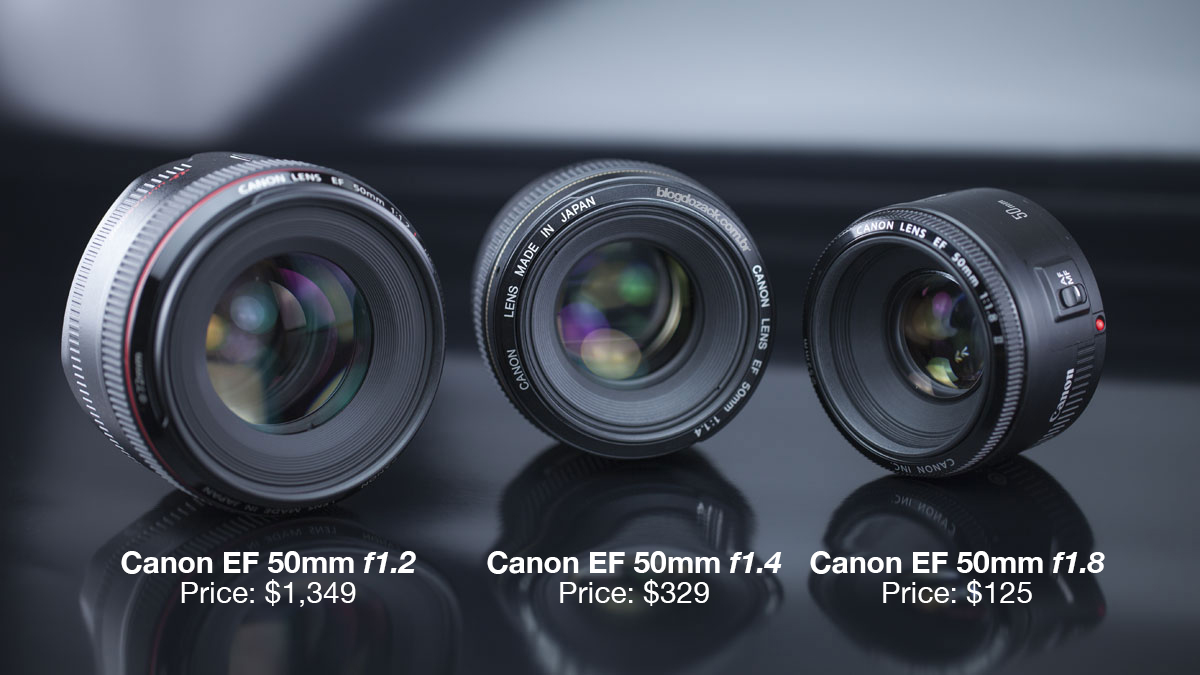
Aperture: The aperture stop of a photographic lens can be adjusted to control the amount of light reaching the film or image sensor. In combination with variation of shutter speed, the aperture size will regulate the film's or image sensor's degree of exposure to light.

So, how does aperture impact your pictures?


Aperture simply means "opening", and in photography we use the term to refer to the diameter of the opening in a special adjustable diaphragm within each lens. When this diaphragm is constricted, there's less physical space for light to get in, so naturally the exposure is darker, and a more-open aperture allows more light and results in a lighter exposure.
Aperture has another important property. When the aperture is very small, the admitted light is highly "collimated", which is a fancy way of saying "all the rays are nicely parallel to each other". This results in a sharp focus for all the light that comes in. When the aperture is more open, only the rays which closely match the focus point are collimated — which means that whatever you've focused on is sharp, but farther or closer parts of the scene will be increasingly blurry.
Aperture is the most important factor when taking pictures in low light.

Aperture comes at a price. Typically you will pay more for a lens that has a larger aperture.
V. The 9 Rules (we'll start with the first three today)
1. Fill The Frame / Cropping
If your shot is in danger of losing impact due to a busy background/surroundings, crop in tight around your main point of focus, eliminating the background so all attention falls on your main subject. This works particularly well with portraits when you're trying to capture something more intimate and focused or are shooting in a busy location where what's around them would just cause a distraction. Filling the frame could involve you capturing them from the waist up or for more impact, fill the frame with just their face. Patterns are another subject that when capturing, you should fill the frame with, aligning it up carefully to ensure it's straight.

2. Don't Cut Off Limbs (I break this one all the time)
Keep an eye on the edges of your frame to make sure the person/animal you're photographing hasn't had any of their body parts chopped off by it. Cutting off your cat's tail, your dog's ears or even part of your model's head, will not only spoil your shot, the unintentional limb chopping can pull attention away from what the viewer should really be looking at.

3. Understand (but don't always use) The Rule Of Thirds
The most basic of all photography rules is all about dividing your shot into nine equal sections by a set of vertical and horizontal lines. With the imaginary frame in place, you should place the most important element(s) in your shot on one of the lines or where the lines meet. It's a technique that works well for landscapes as you can position the horizon on one of the horizontal lines that sit in the lower and upper part of the photograph while you're vertical subjects (trees etc.) can be placed on one of the two vertical lines.

VI. Q&A:
Curriculum: Day 2
I. Introductions: People, place and things.
II. Review: The Big Three. ISO | SHUTTER SPEED | APERTURE (don't freak out, you don't have to learn this today)
III. The Lens: The camera lens, in most cases, is more important in regards to capturing y0ur image than the camera itself. In other words, a $800 lens on a $200 camera will produce a better image than a $100 lens on a $800 camera. So, what goes into a lens?

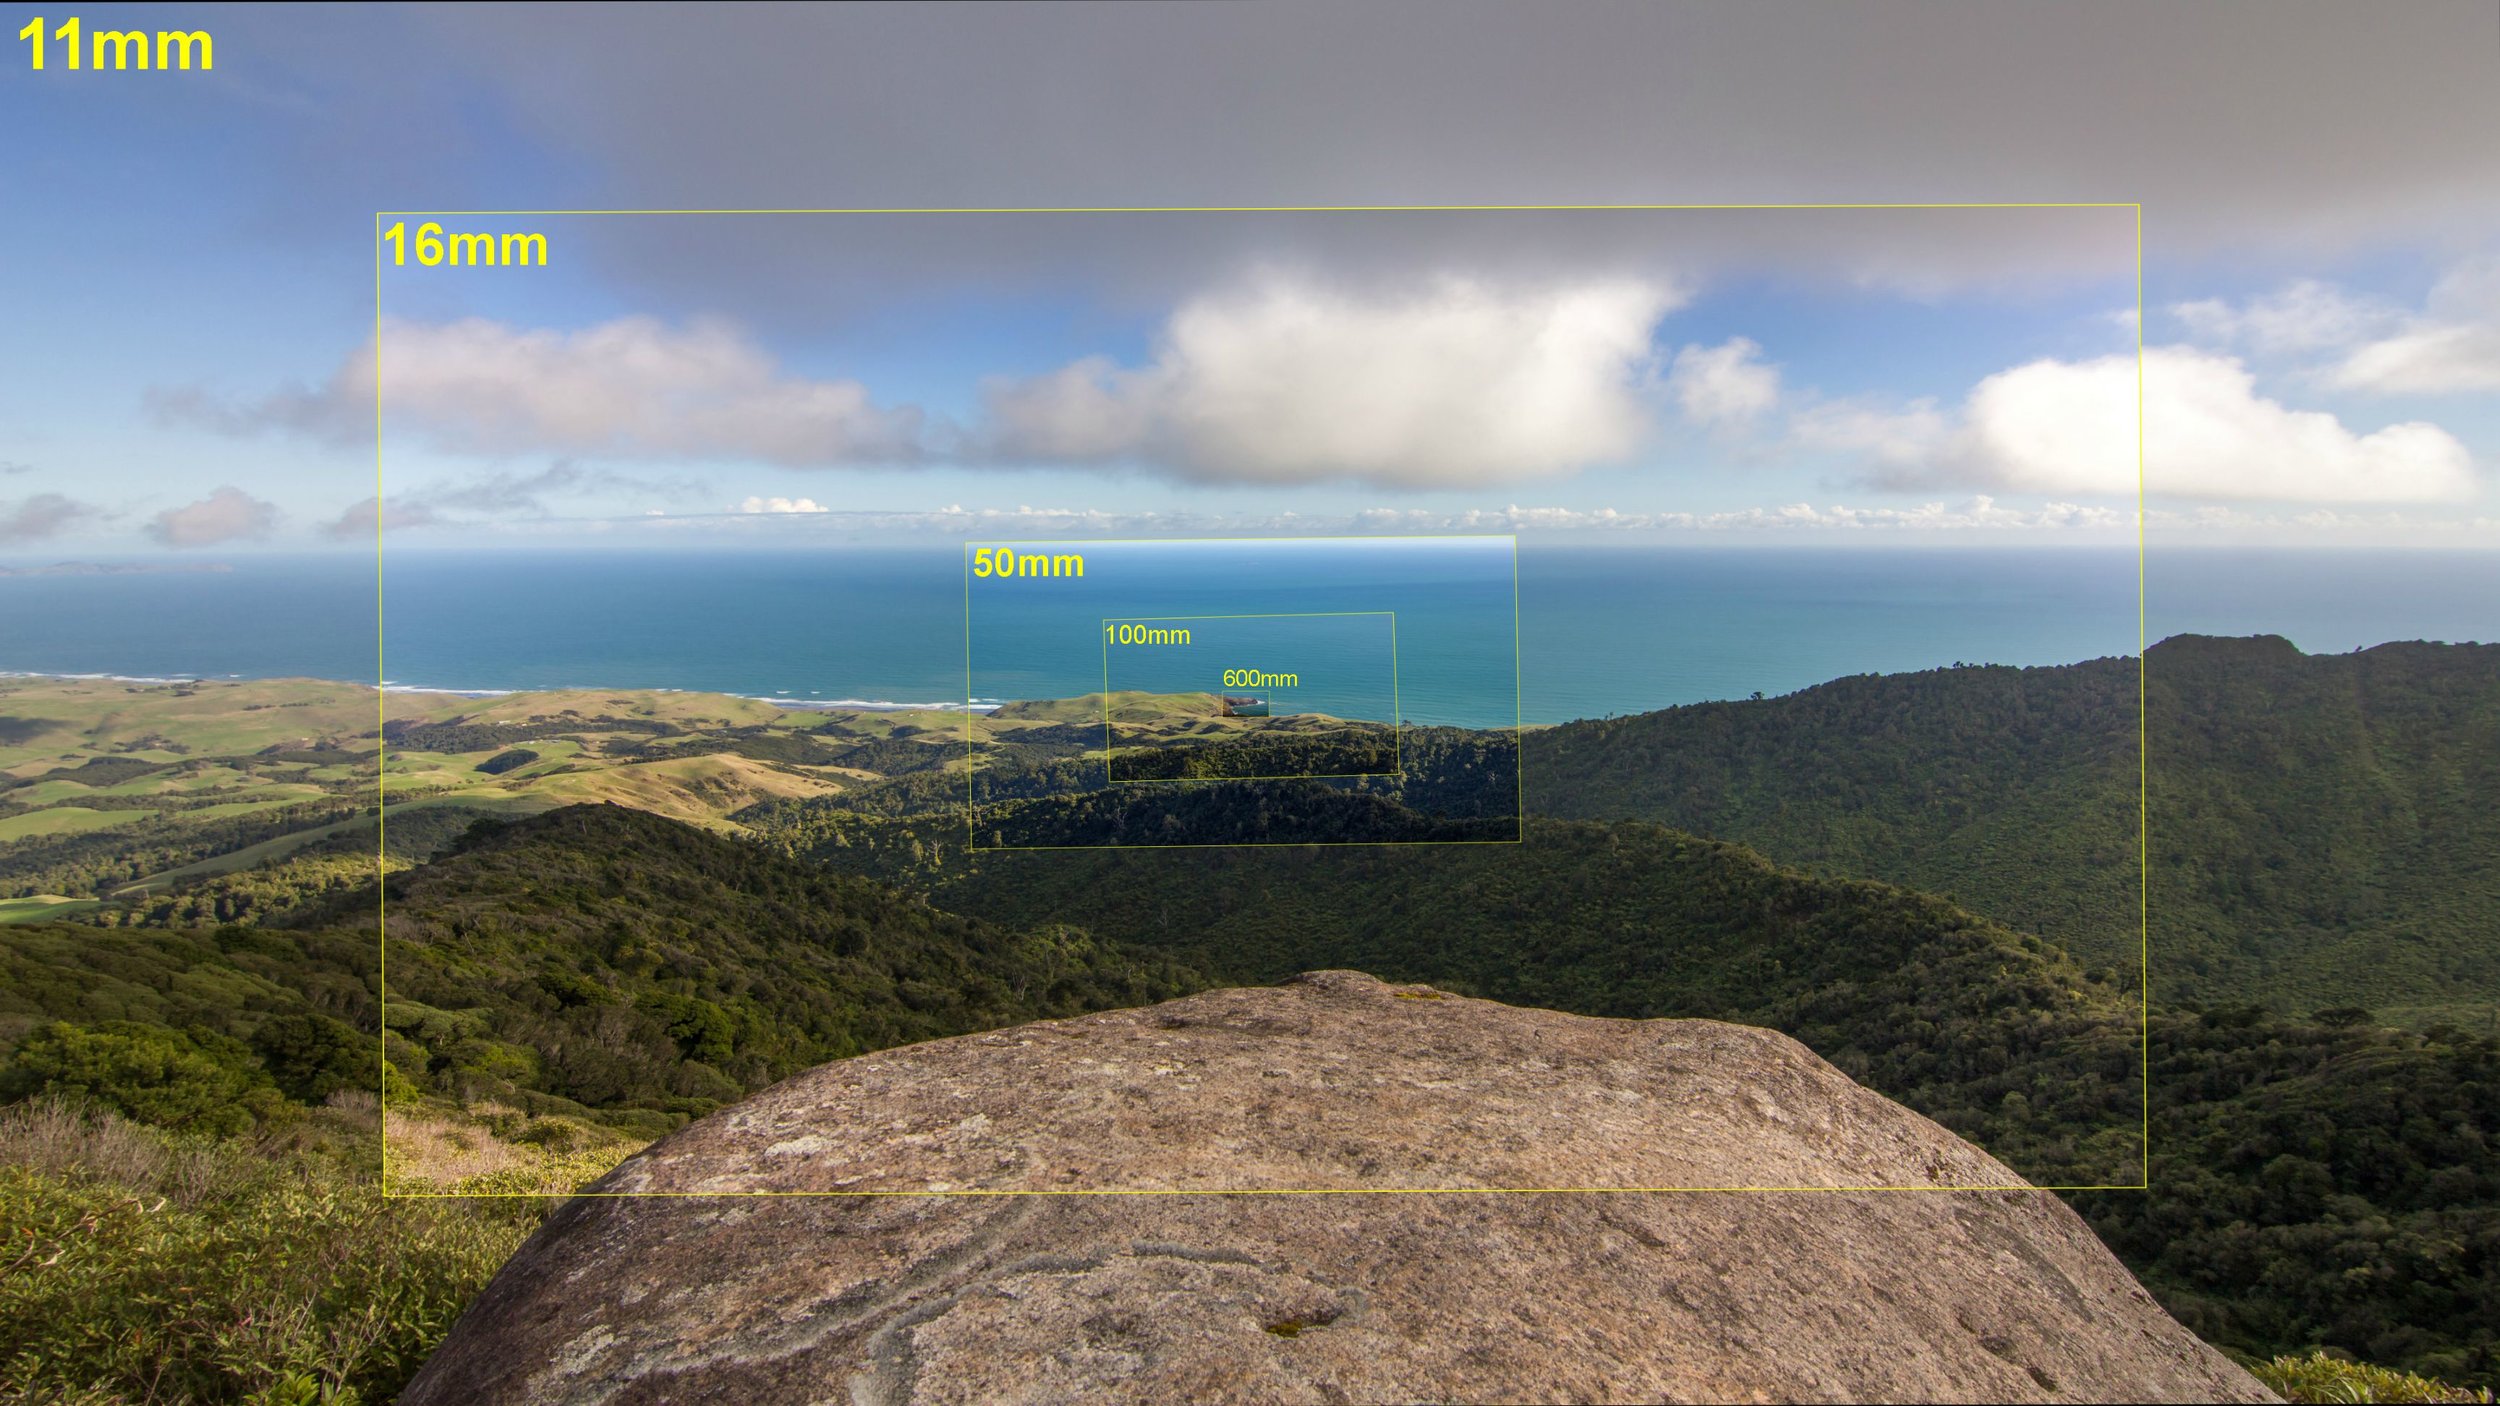
III A. Focal length:
The focal length of an optical system is a measure of how strongly the system converges or diverges light. For an optical system in air, it is the distance over which initially collimated rays are brought to a focus. A system with a shorter focal length has greater optical power than one with a long focal length; that is, it bends the rays more sharply, bringing them to a focus in a shorter distance.
In most photography and all telescopy, where the subject is essentially infinitely far away, longer focal length (lower optical power) leads to higher magnification and a narrower angle of view; conversely, shorter focal length or higher optical power is associated with a wider angle of view. On the other hand, in applications such as microscopy in which magnification is achieved by bringing the object close to the lens, a shorter focal length (higher optical power) leads to higher magnification because the subject can be brought closer to the center of projection.
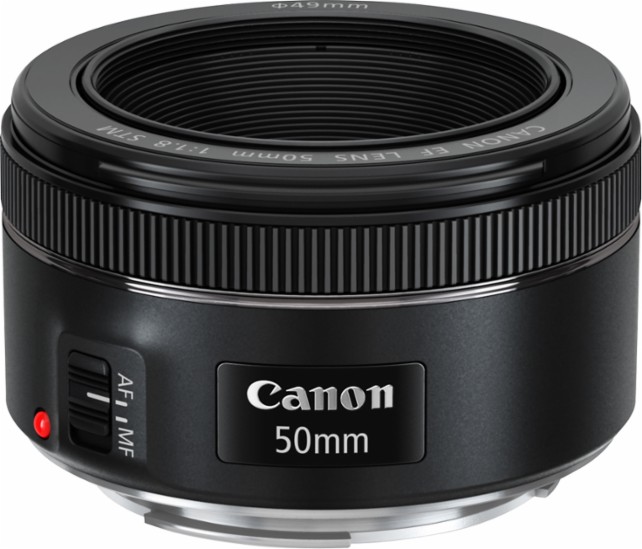
Confusing right? Well, you don't need to understand the science, I don't. But here is what you do need to understand. The higher the number (i.e. 200mm or 400mm) the greater the magnification vs. the lower the number (35mm or 18mm). Below is pictured a 50mm lens. This is considered to be the most natural image representation you can get in regards to distortion and light gathering.


III B. Prime Vs. Zoom.
1) What is a Prime Lens?
A prime lens is a lens with a fixed focal length (also commonly referred to as a “fixed lens”). What this means is that such a lens has a set angle of view which can not be changed – unless you move, you can not make the image appear larger or smaller within the frame. The only way of enlarging your subject and making it fill more of the frame is by physically getting closer to it. In turn, the only way to fit more into the frame is to step back.
Prime lenses have a single specified focal length, like 50mm. They come in all kinds sizes and focal lengths, from fisheye to super telephoto. Examples of prime lenses: Nikon 50 f/1.8G, Canon 800mm f/5.6L IS, Sigma 35mm f/1.4.
2) What is a Zoom Lens?
A zoom lens, on the other hand, has a variable focal length. By turning the zoom ring, you move optical elements inside the lens to achieve a different angle of view. This means that you can make objects appear larger by turning the zoom ring in one direction, or fit more objects into the frame by turning it in the opposite direction.
Zoom lenses have two specifications which represent the two extremes of the zoom range, for example – 70-200mm. Such a lens may act as a 70mm focal length lens, a 200mm focal length lens and everything in-between. In addition, zoom lenses could also have variable aperture ranges. On many consumer zoom lenses, you will often see something like f/3.5-5.6, which represents the maximum aperture of the lens at different focal lengths. For example, a lens like Nikon 18-55mm f/3.5-5.6 will have a maximum aperture of f/3.5 at the shortest focal length of 18mm, while at the longest range of 55mm, its aperture will be limited to f/5.6. On the other hand, most professional-level zoom lenses will have a single maximum aperture throughout the zoom range. Examples of zoom lenses: Nikon 18-200mm f/3.5-5.6G VR II, Canon 16-35mm f/2.8L II, Sigma 70-200mm f/2.8.
III C. Speed
This brings us back to one of the big three, aperture. The low the number the more light, the higher the number (to an extent) the greater the depth of field.
III D. Image stabilization
Many lenses have mechanical image stabilization. This can help in low light and telephoto situation.
III E. Pricepoint
You get what you pay for.

IV. Focus: Manual vs. Auto
A lot of people don't even think about using manual focus. Auto focus came along decades ago and is the go to solution for almost all amateurs and even professionals. But...there are occasions that manual comes in handy...
IV. The 9 Rules (part II)
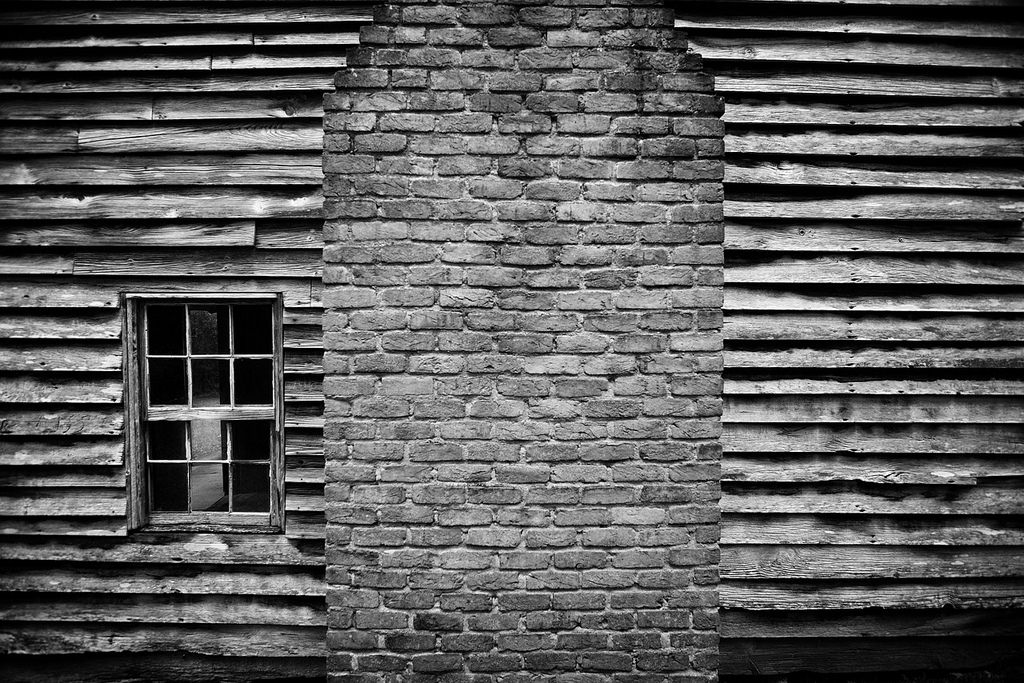
4. Use Frames
Frames have various uses when it comes to composition. They can isolate your subject, drawing the eye directly to it, they can hide unwanted items behind it, give an image depth and help create context. Your frame can be man-made (bridges, arches and fences), natural (tree branches, tree trunks) or even human (arms clasped around a face).
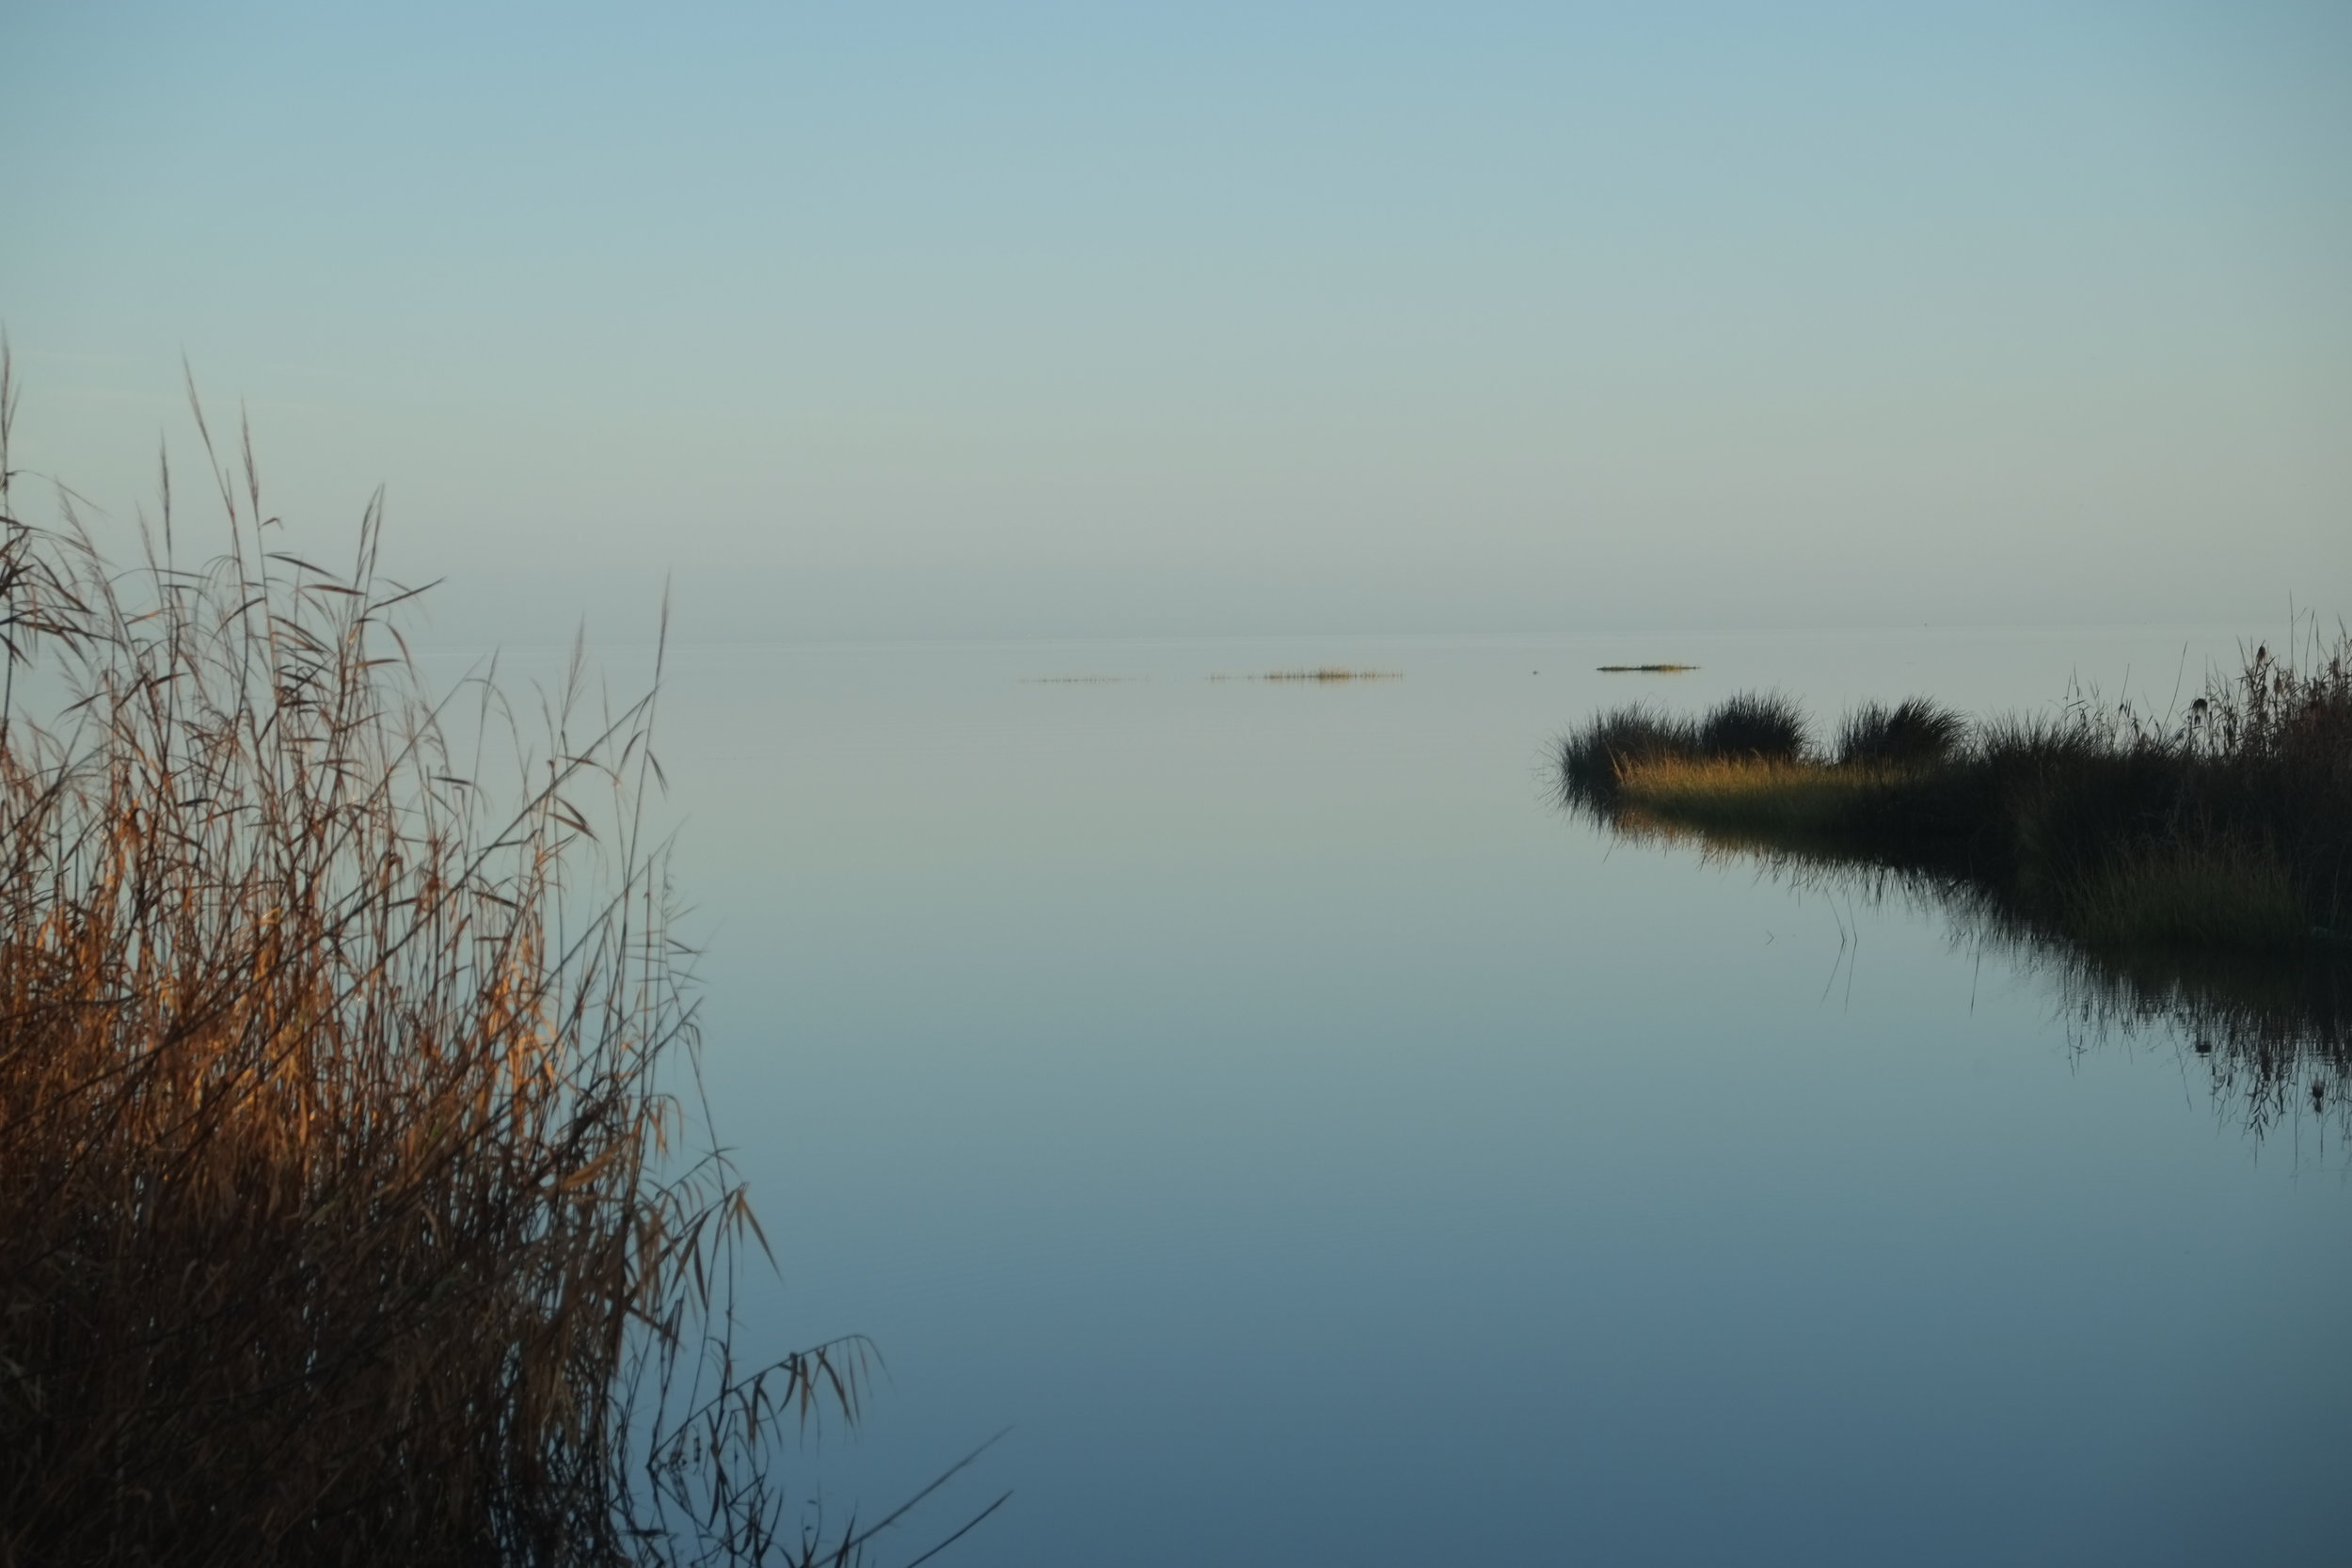
5. Make The Most Of Lead In Lines / Shapes
Our eyes are unconsciously drawn along lines in images so by thinking about how, where and why you place lines in your images will change the way your audience view it. A road, for example, starting at one end of the shot and winding its way to the far end will pull the eye through the scene. You can position various focal points along your line or just have one main area focus at the end of your line that the eye will settle on. Shapes can be used in a similar way, for example imagine a triangle and position three points of focus at the end of each point where the lines of the shape meet. By doing so you create balance in your shot as well as subtly guiding the eye.

6. Simplify – Know Your Focus
Having too much going on in your frame can mean the person who's looking at it just keeps searching for a point of focus and soon gets bored of looking when they can't find one. This doesn't mean you can't have secondary points of focus, it just means you should make every effort to make sure they don't steal all the limelight. Take a look at our tutorial on using points of interest in photography for more information on this.

Curriculum: Day 3
I. Introductions: People, place and things.
II. The Big Three. ISO | SHUTTER SPEED | APERTURE (don't freak out, you don't have to learn this today)
III. What is sensor size?

IV. What is megapixel count?
A pixel is one dot of information in a digital photograph. Digital photos are made of millions of pixels (Mega = Million).
A 12 megapixel image contains approximately 12 million pixels, while an 20 megapixel image contains 20 million pixels.
But does more equal better? No.
V. 9 rules of photography (part III).
7. Watch The Background
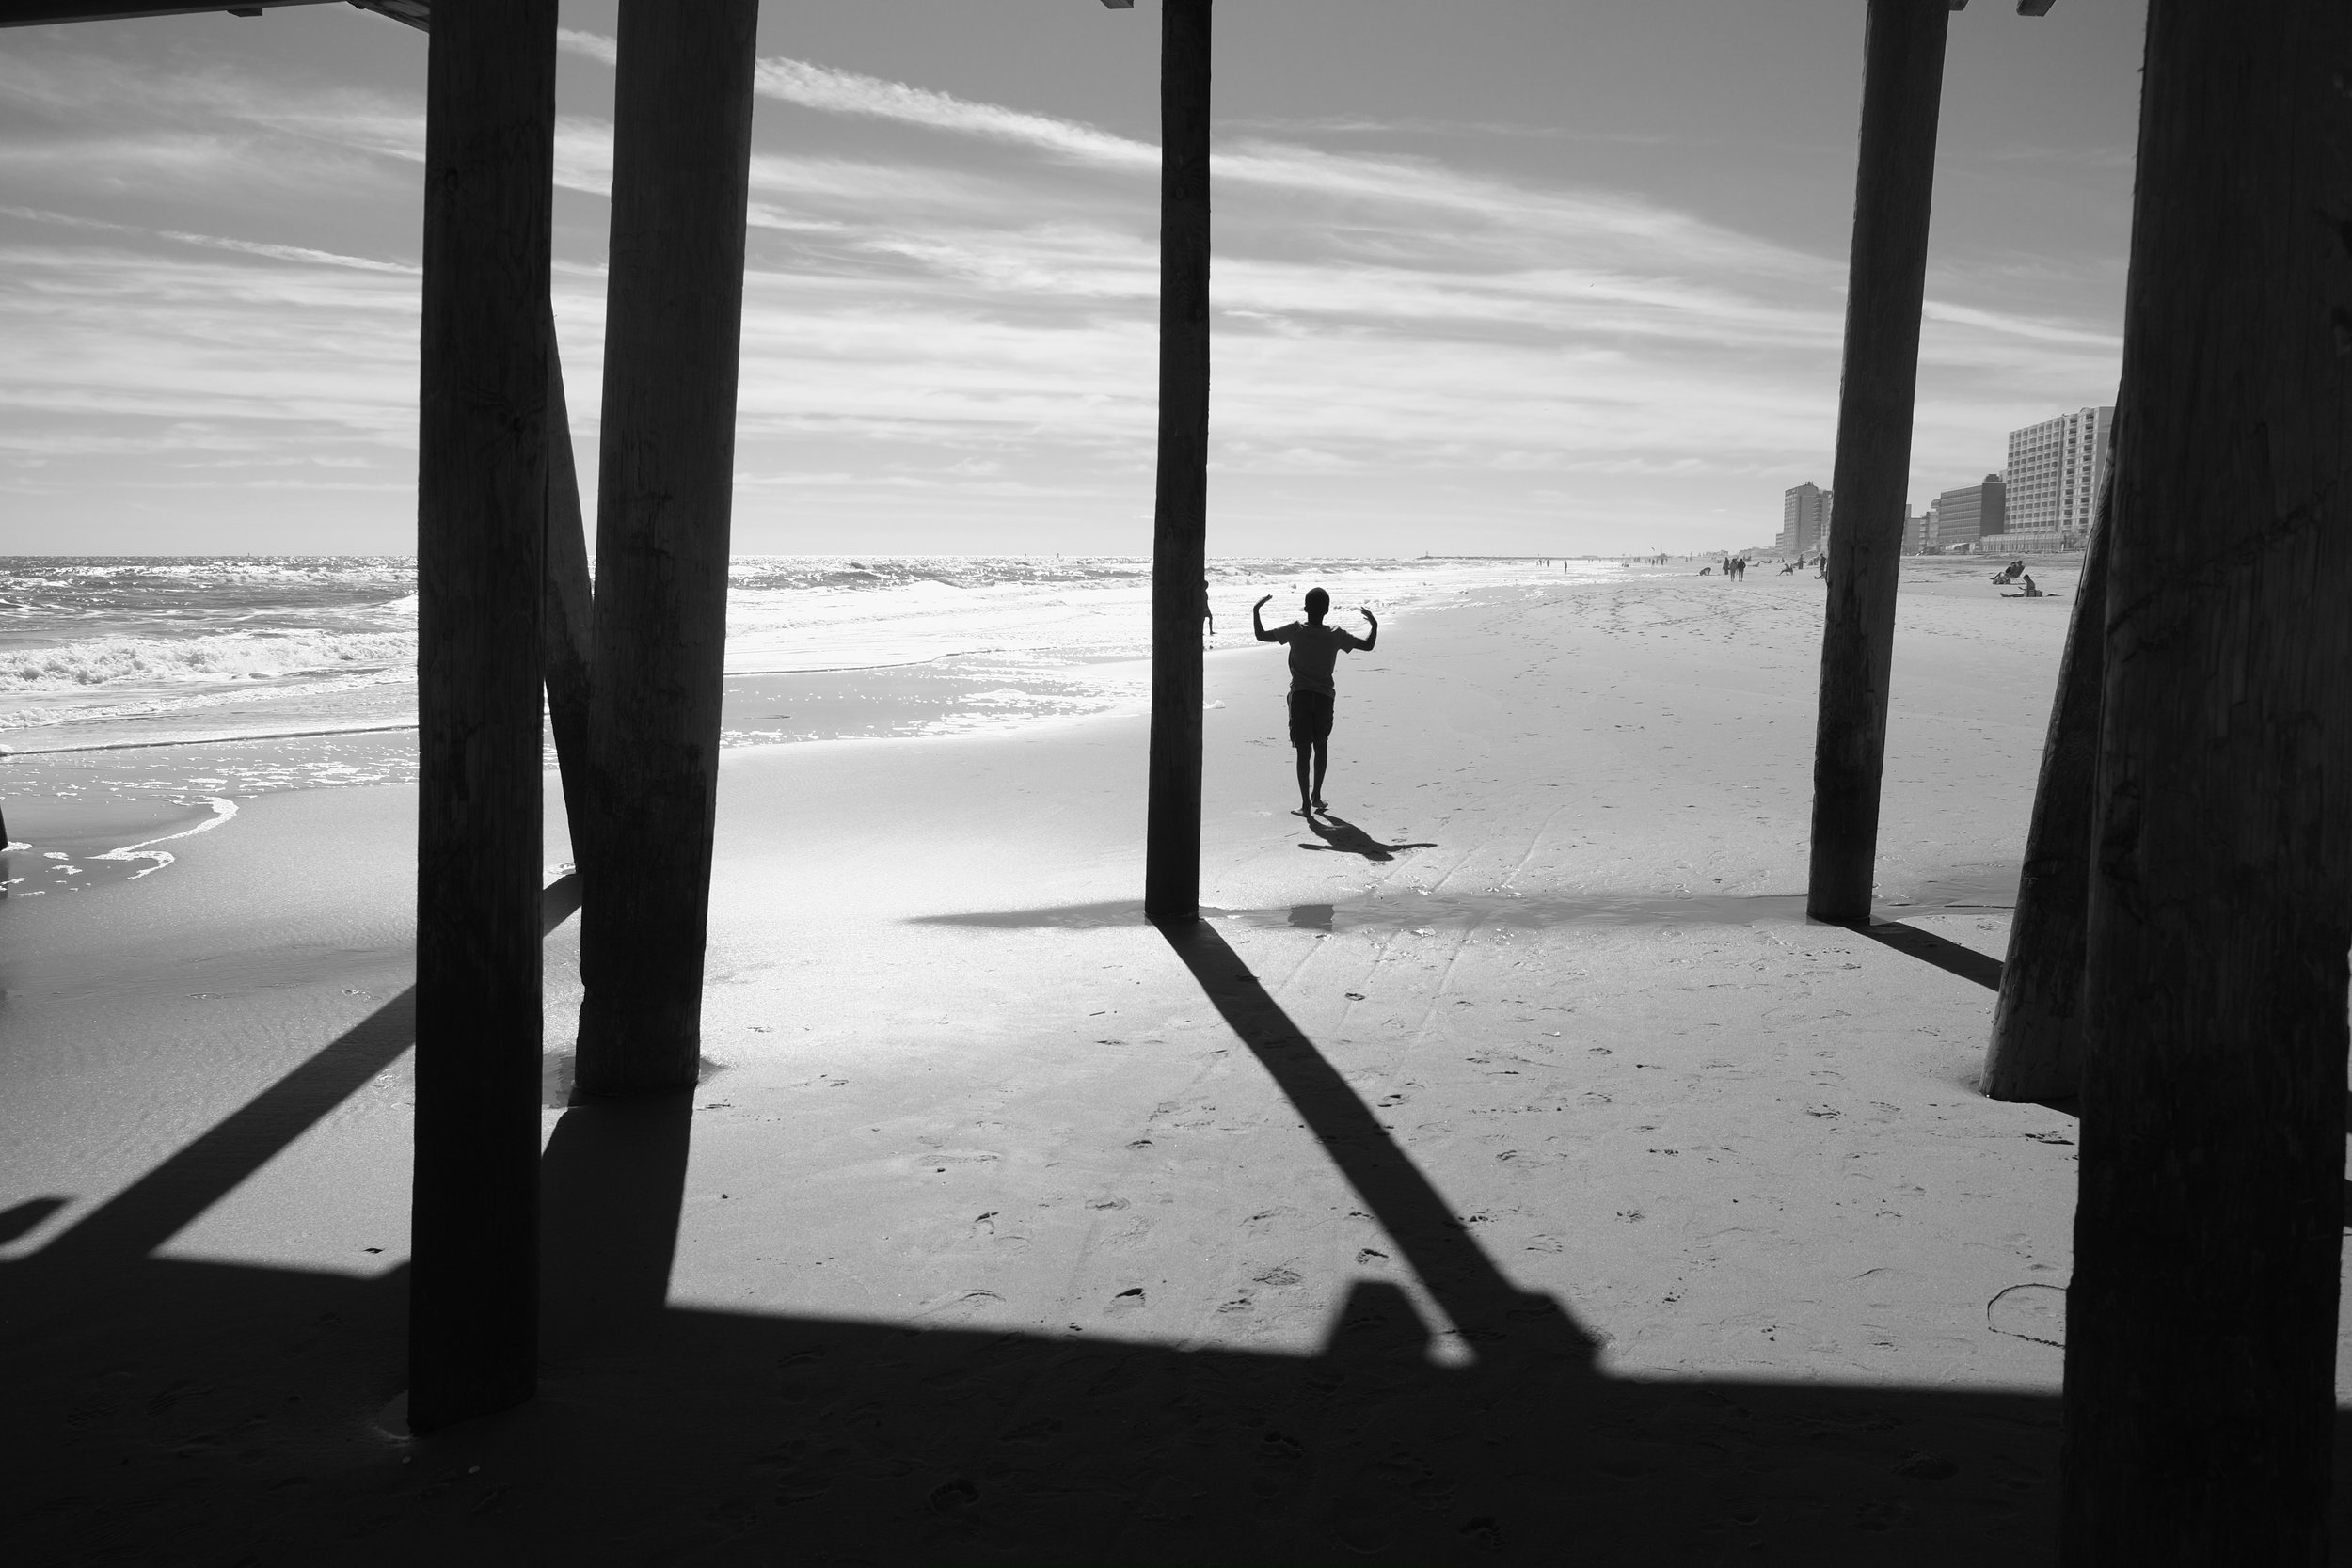
Unsightly objects, overexposed or particularly bright areas and blocks/dots of bright colour will all pull the eye from what it's meant to be focusing on so take a good look at your background before you take your shot and if possible, find a background that's not so obtrusive. If you're working on portraits make sure there's no unwanted items sticking out of your subject's head and unless it adds to the shot, throw the background out of focus. To do this, select a wider aperture if working with a DSLR or select the Portrait Mode on a compact camera to tell it you want to work with a wider aperture. If you're working with plants and flowers try creating your own backgrounds out of card and material which can be slipped into your bag alongside your camera gear.


Photo by David Clapp.
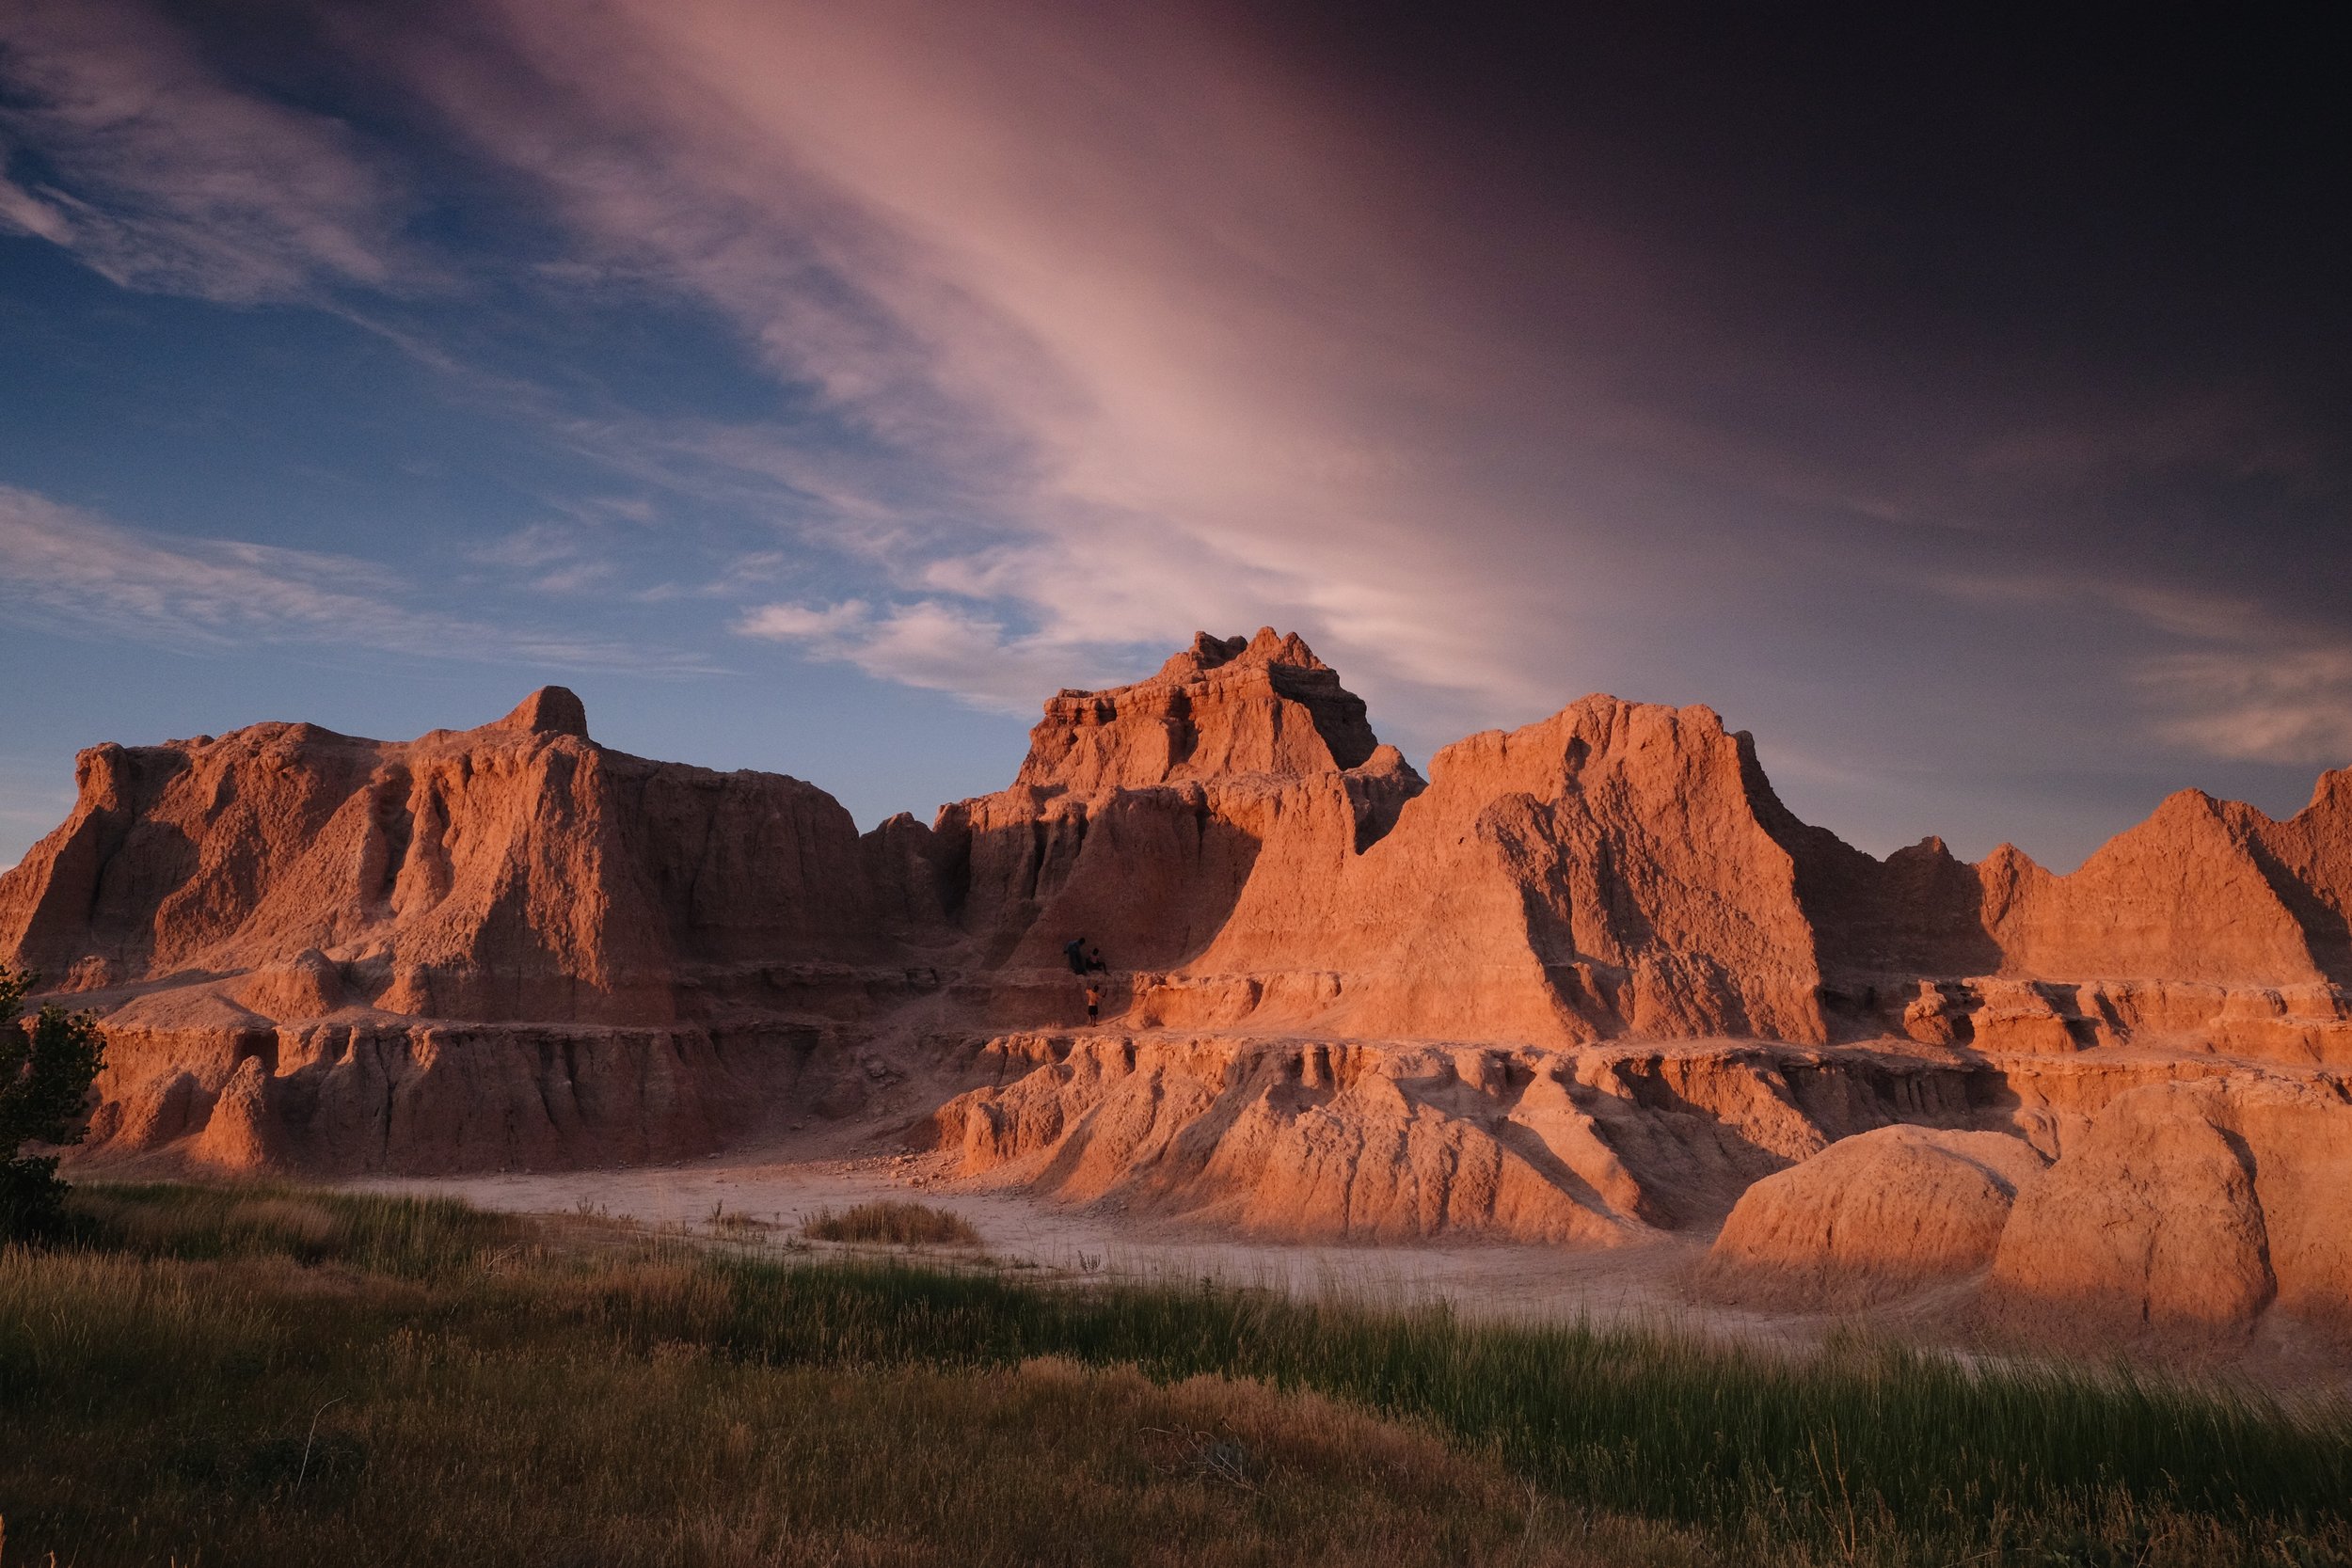
8. Look For Symmetry/Patterns
Filling your frame with a pattern that repeats gives the shot more impact, exaggerating the size/number of the objects you're photographing. Shots where there's symmetry in them such as lamp posts lining either side of a street, a long line of trees or a series of arches can also be used to guide the eye to a single point. Just remember you need a focus point at the end of your shot otherwise it won't work as well. Symmetry can also involve non-related objects that resemble each other in shape, colour or texture. To be different, break the repetitive pattern with one shape/colour that stands out from the rest. You'll probably have to play around to see how positioning the 'odd one out' changes the composition/feeling of your shot.

9. Create Depth
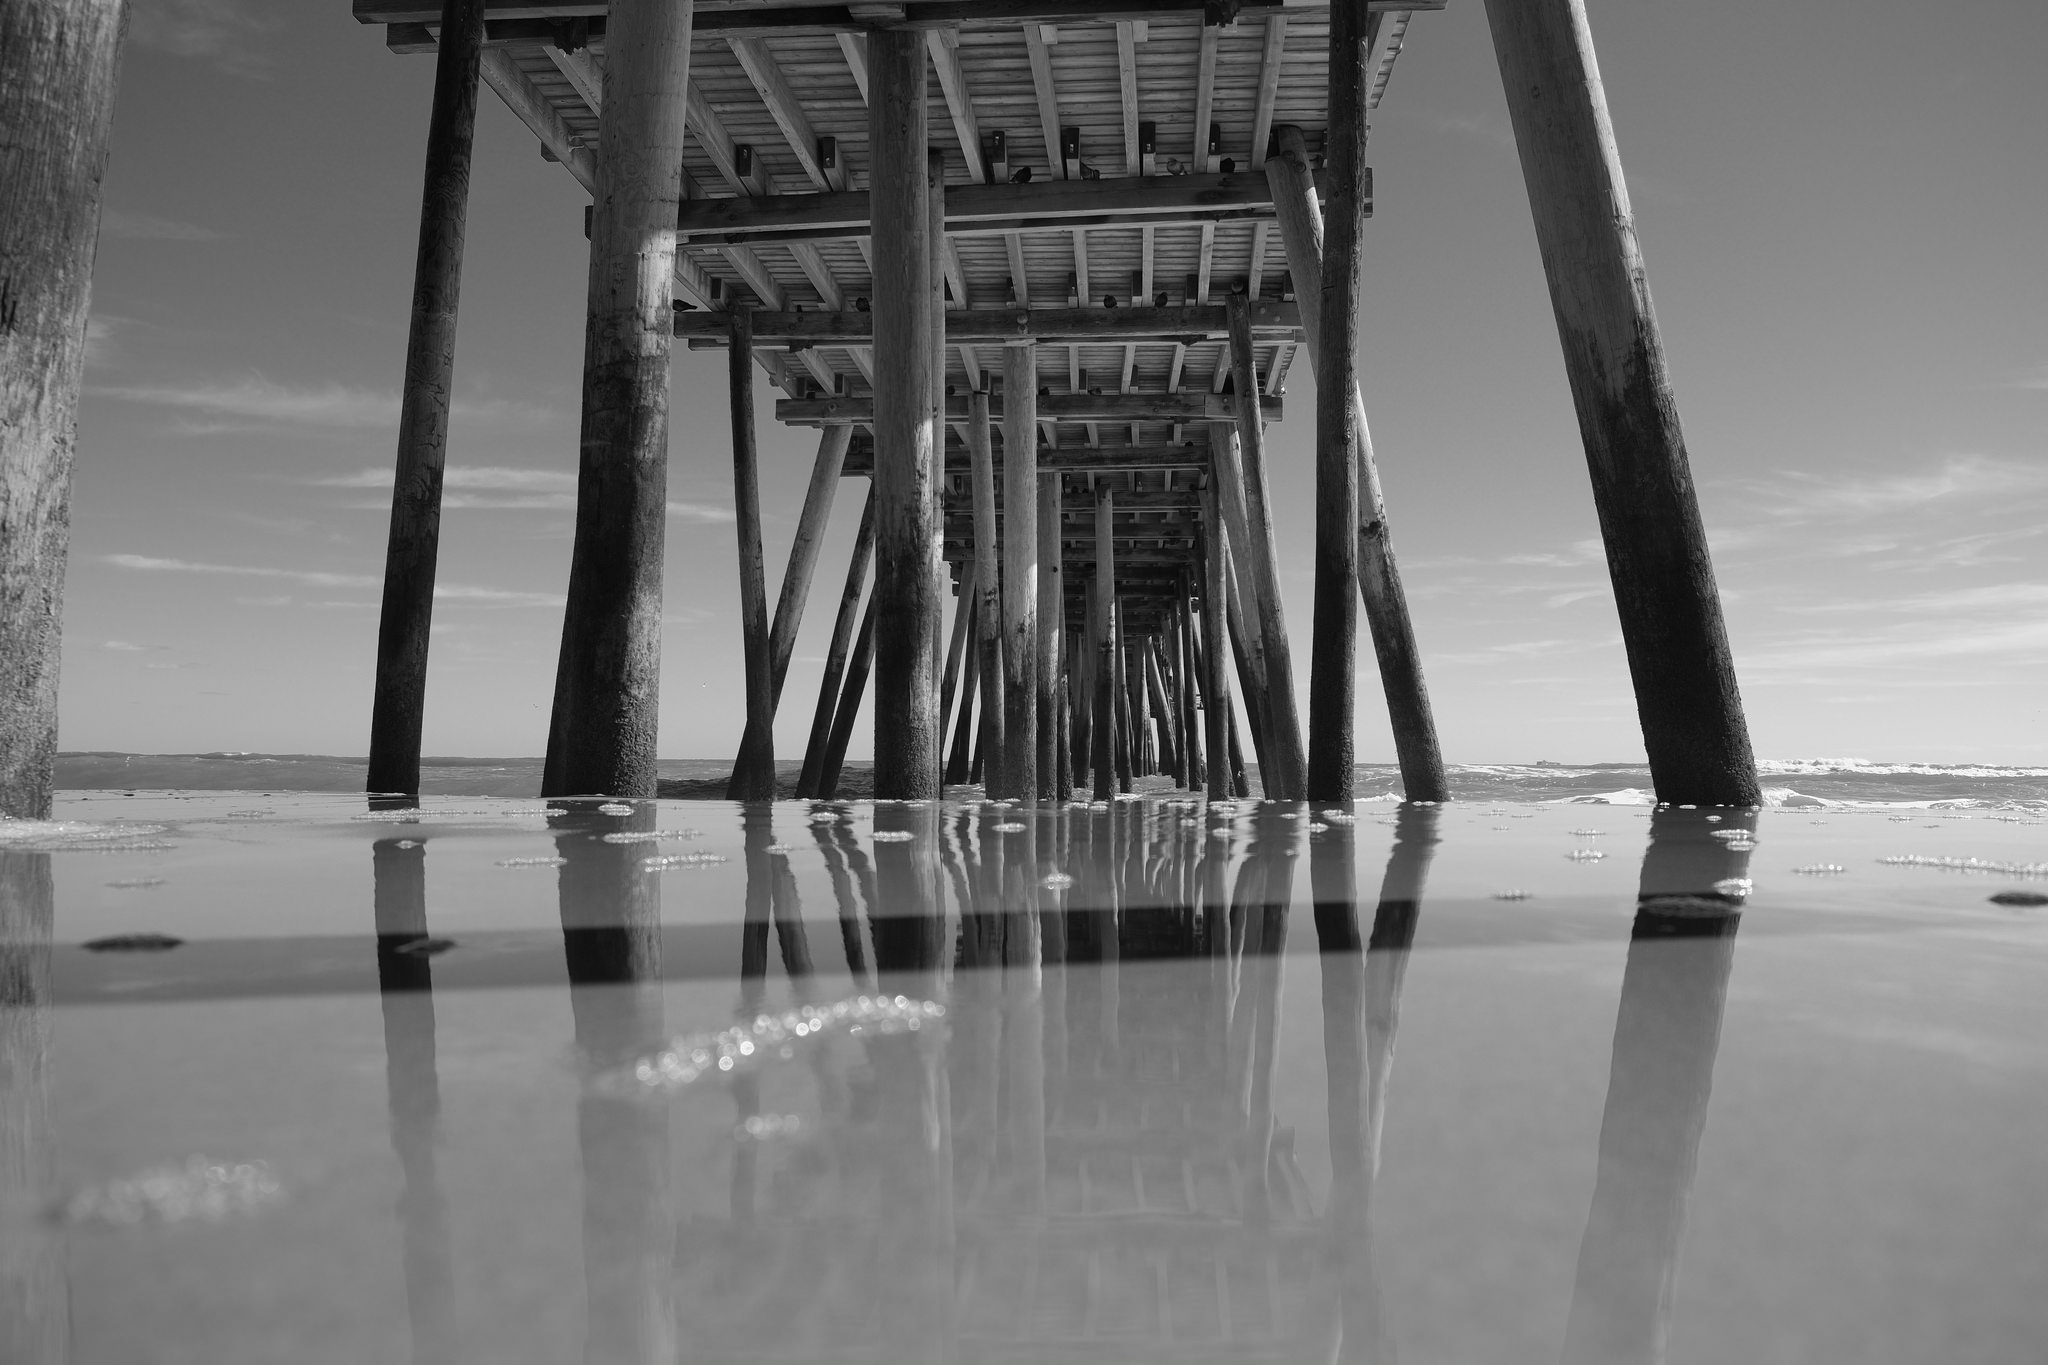
Having fore-, middle- and background detail will add depth to your image as well as draw the eye through the picture. Compositional elements that compliment each other, for example with colour or by association, work well but do be careful with the size of objects you use and how you place them as you don't want the shot to be thrown off balance. You don't want a rock in the foreground of your landscape shot, for example, drawing the eye away from the hills and mountains in the background. Adding water to the foreground can also lighten your shot as well as adding an extra element of interest as it reflects the sky back out.


10. My Rules:
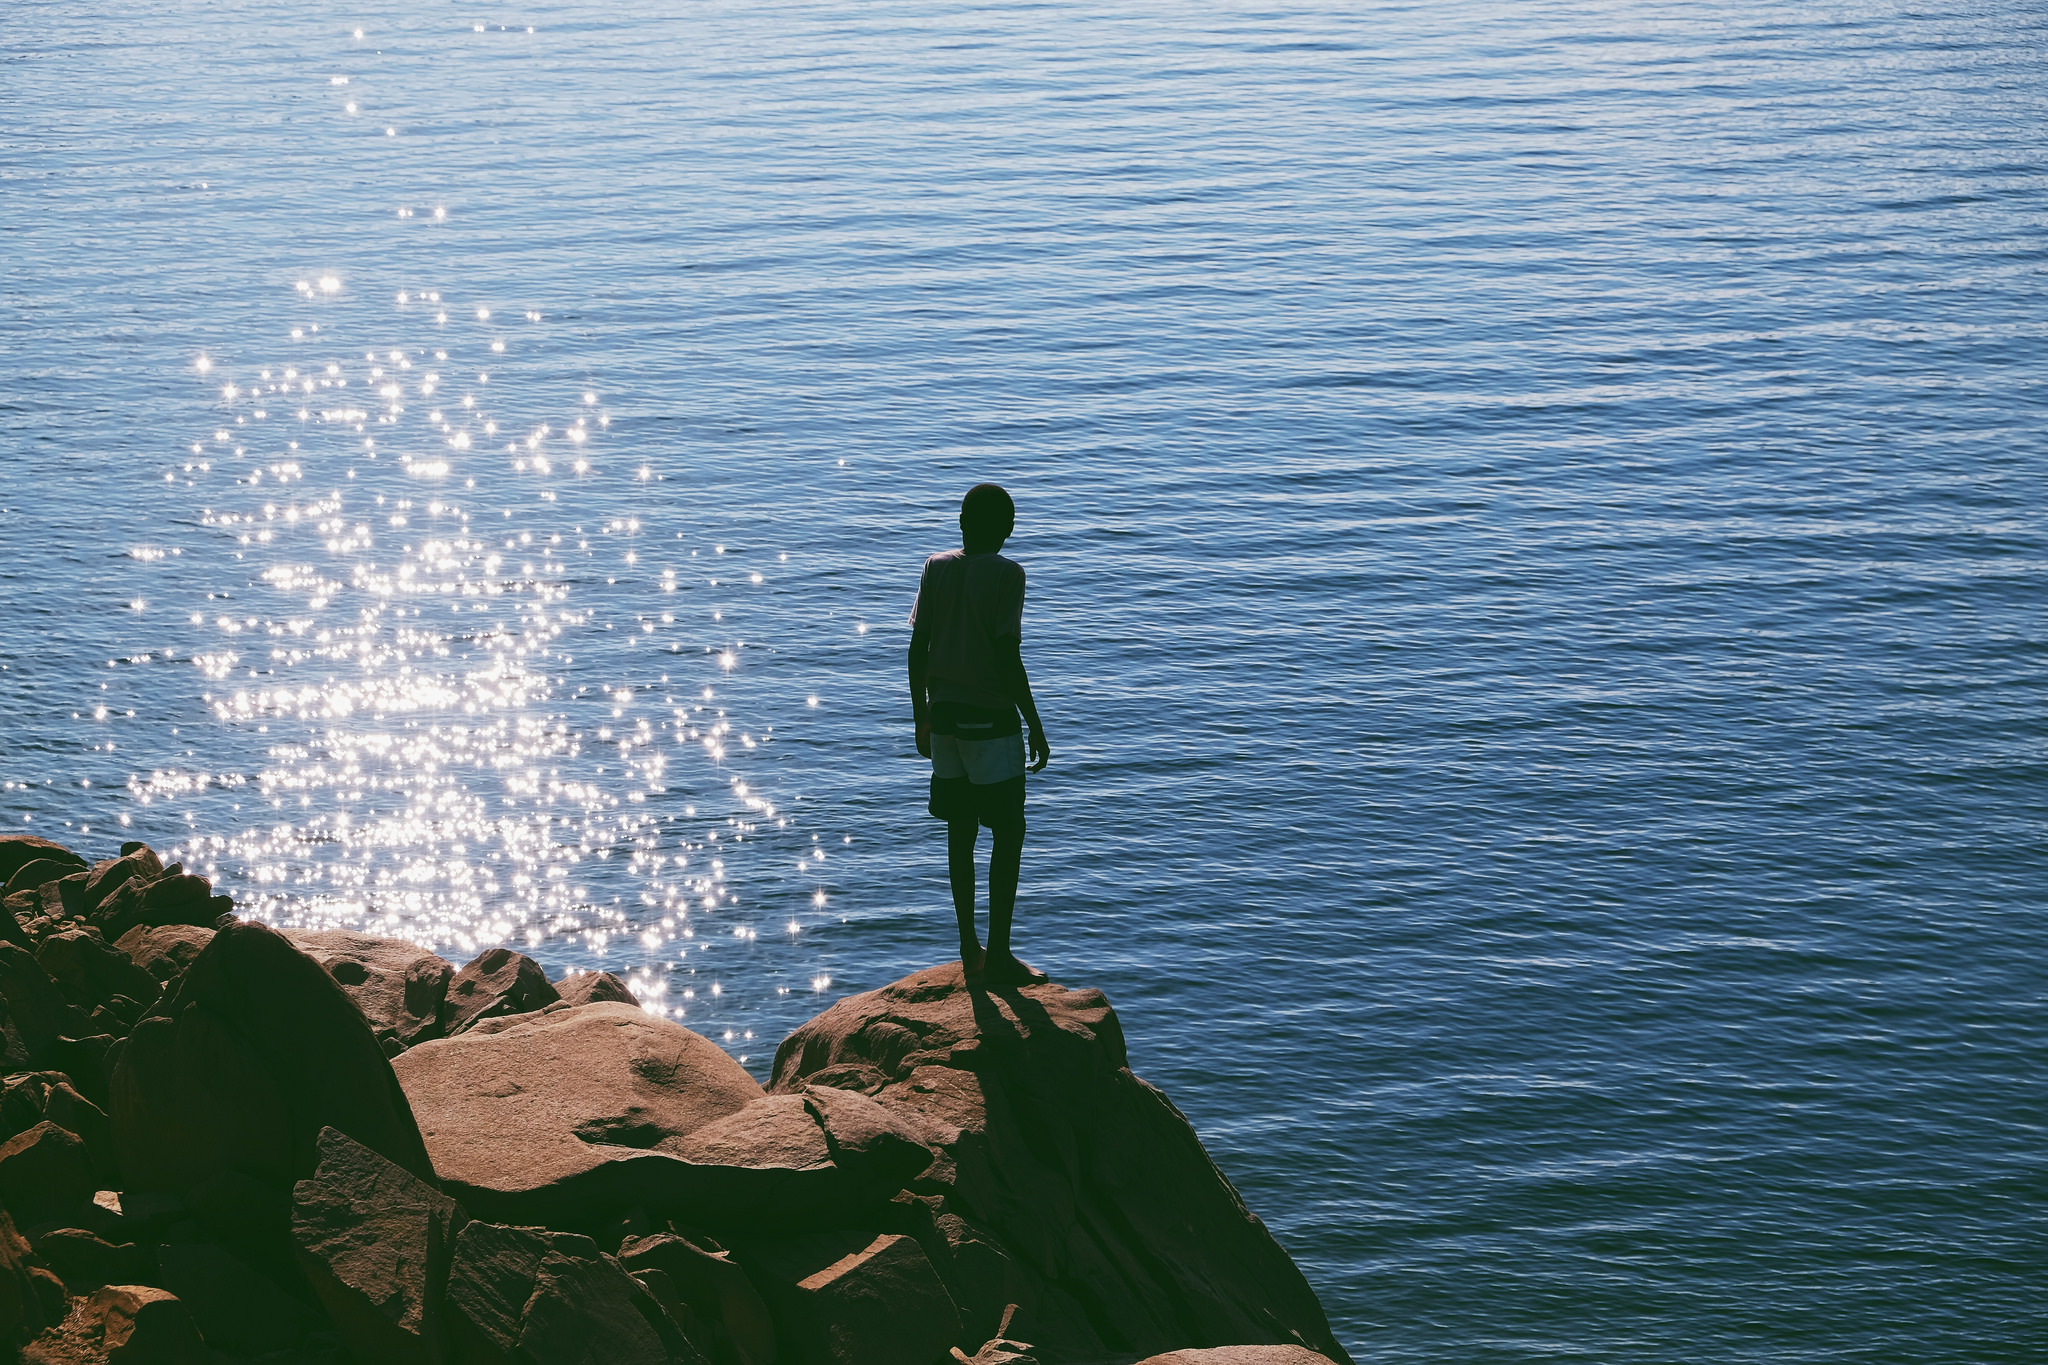
Backlight is better.


The Golden Hour for color.

Ask the question. Start the journey. Tell a story.


Location, location, location.

VI. Workflow.

VII. Archiving your work.

VIII. Printing and Sharing your work.
These services are becoming a dime a dozen. Find one that works for you and is EASY for you.

I like:

IX. Discussion, Conclusions: Set a goal.
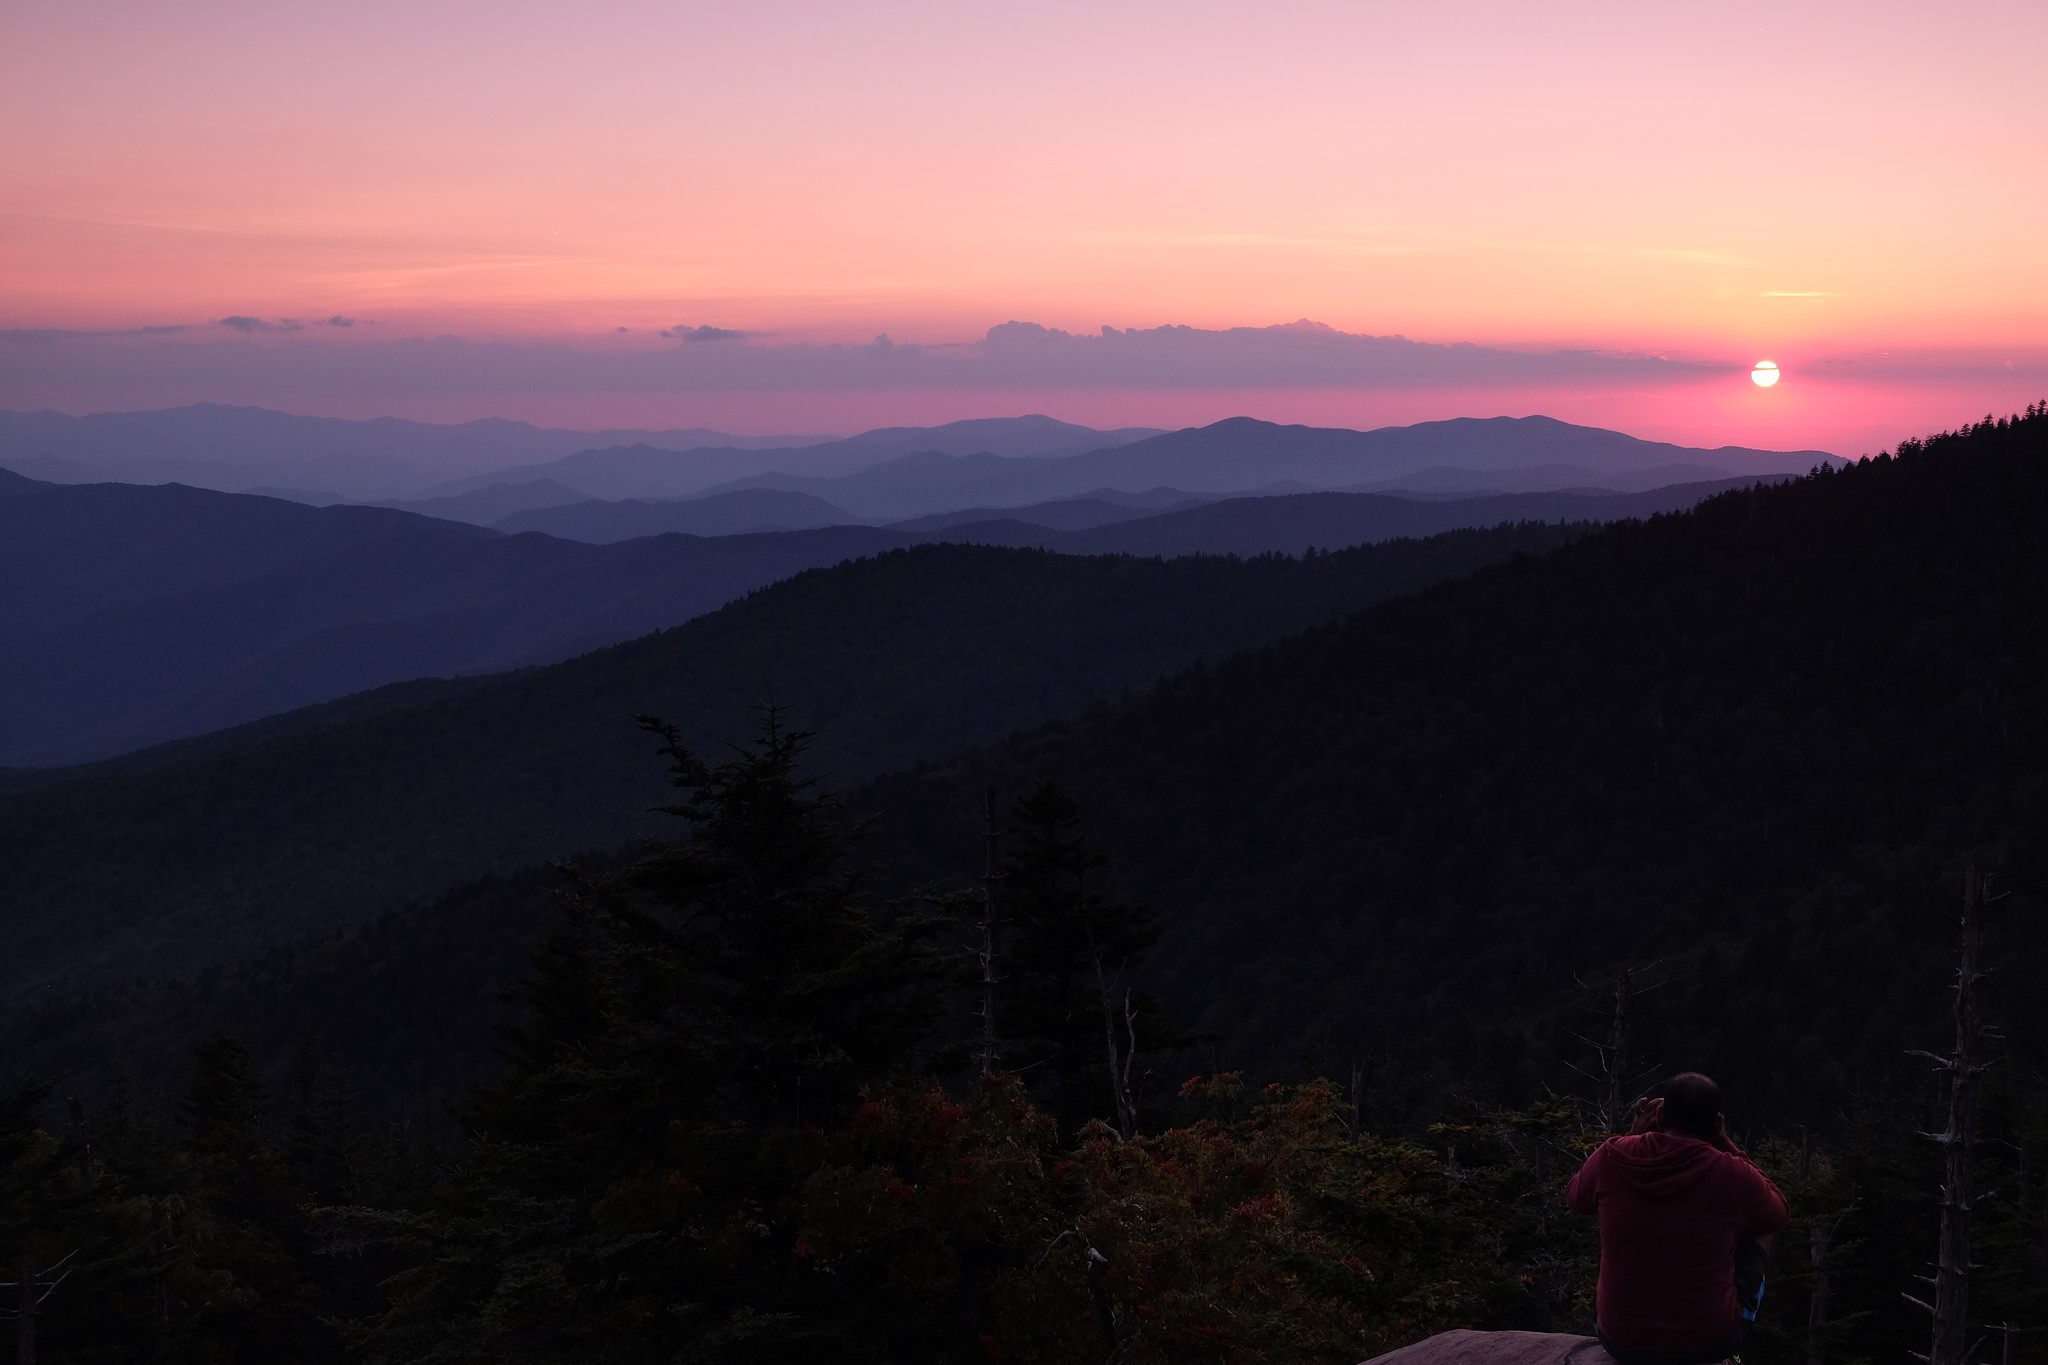
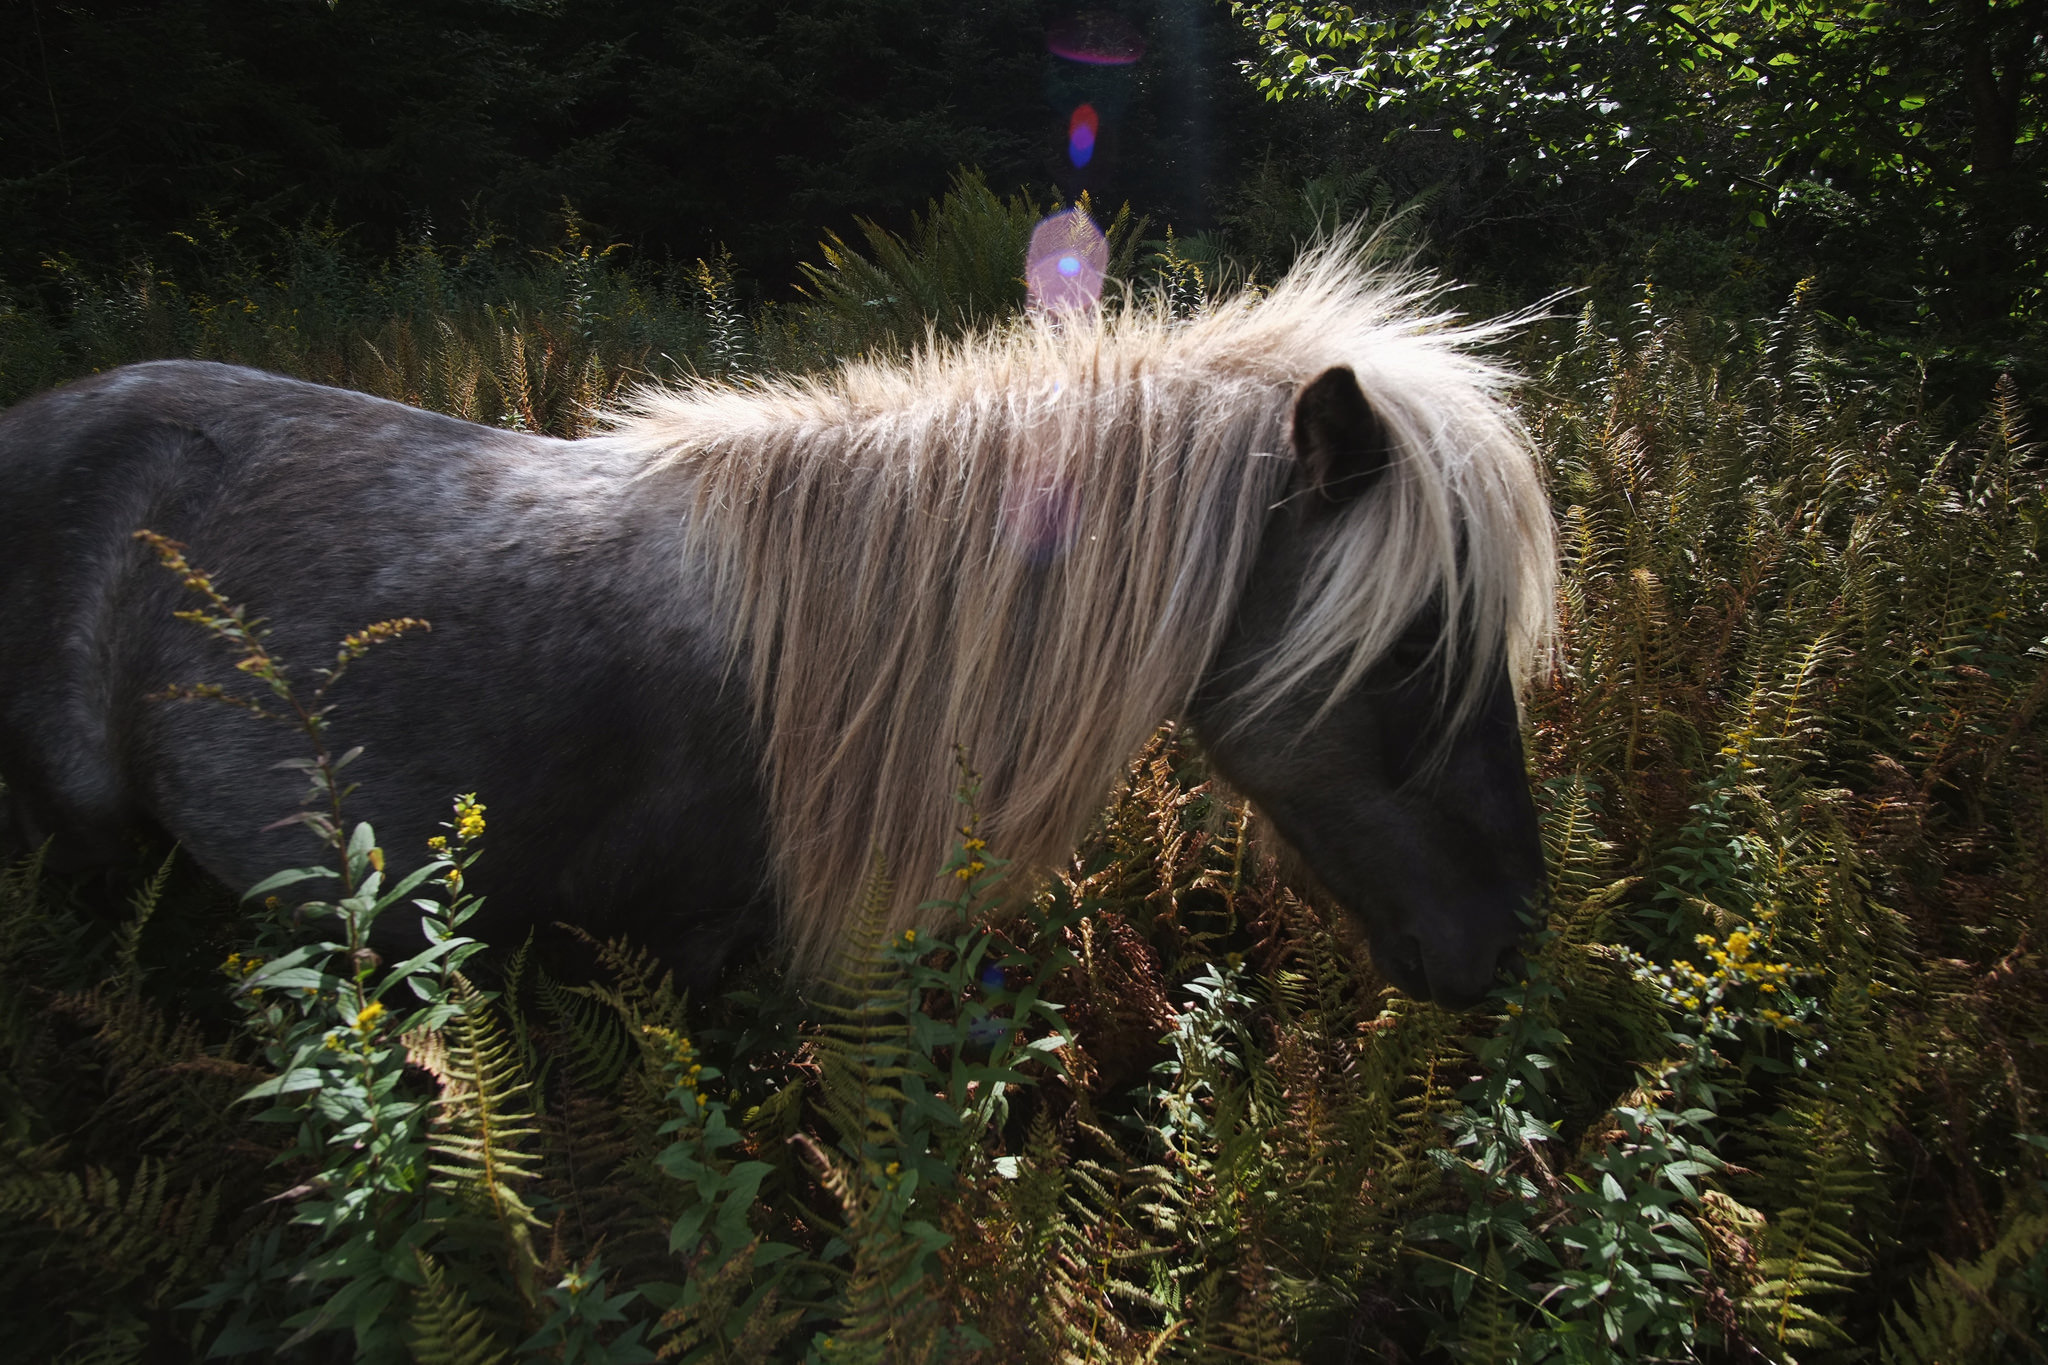
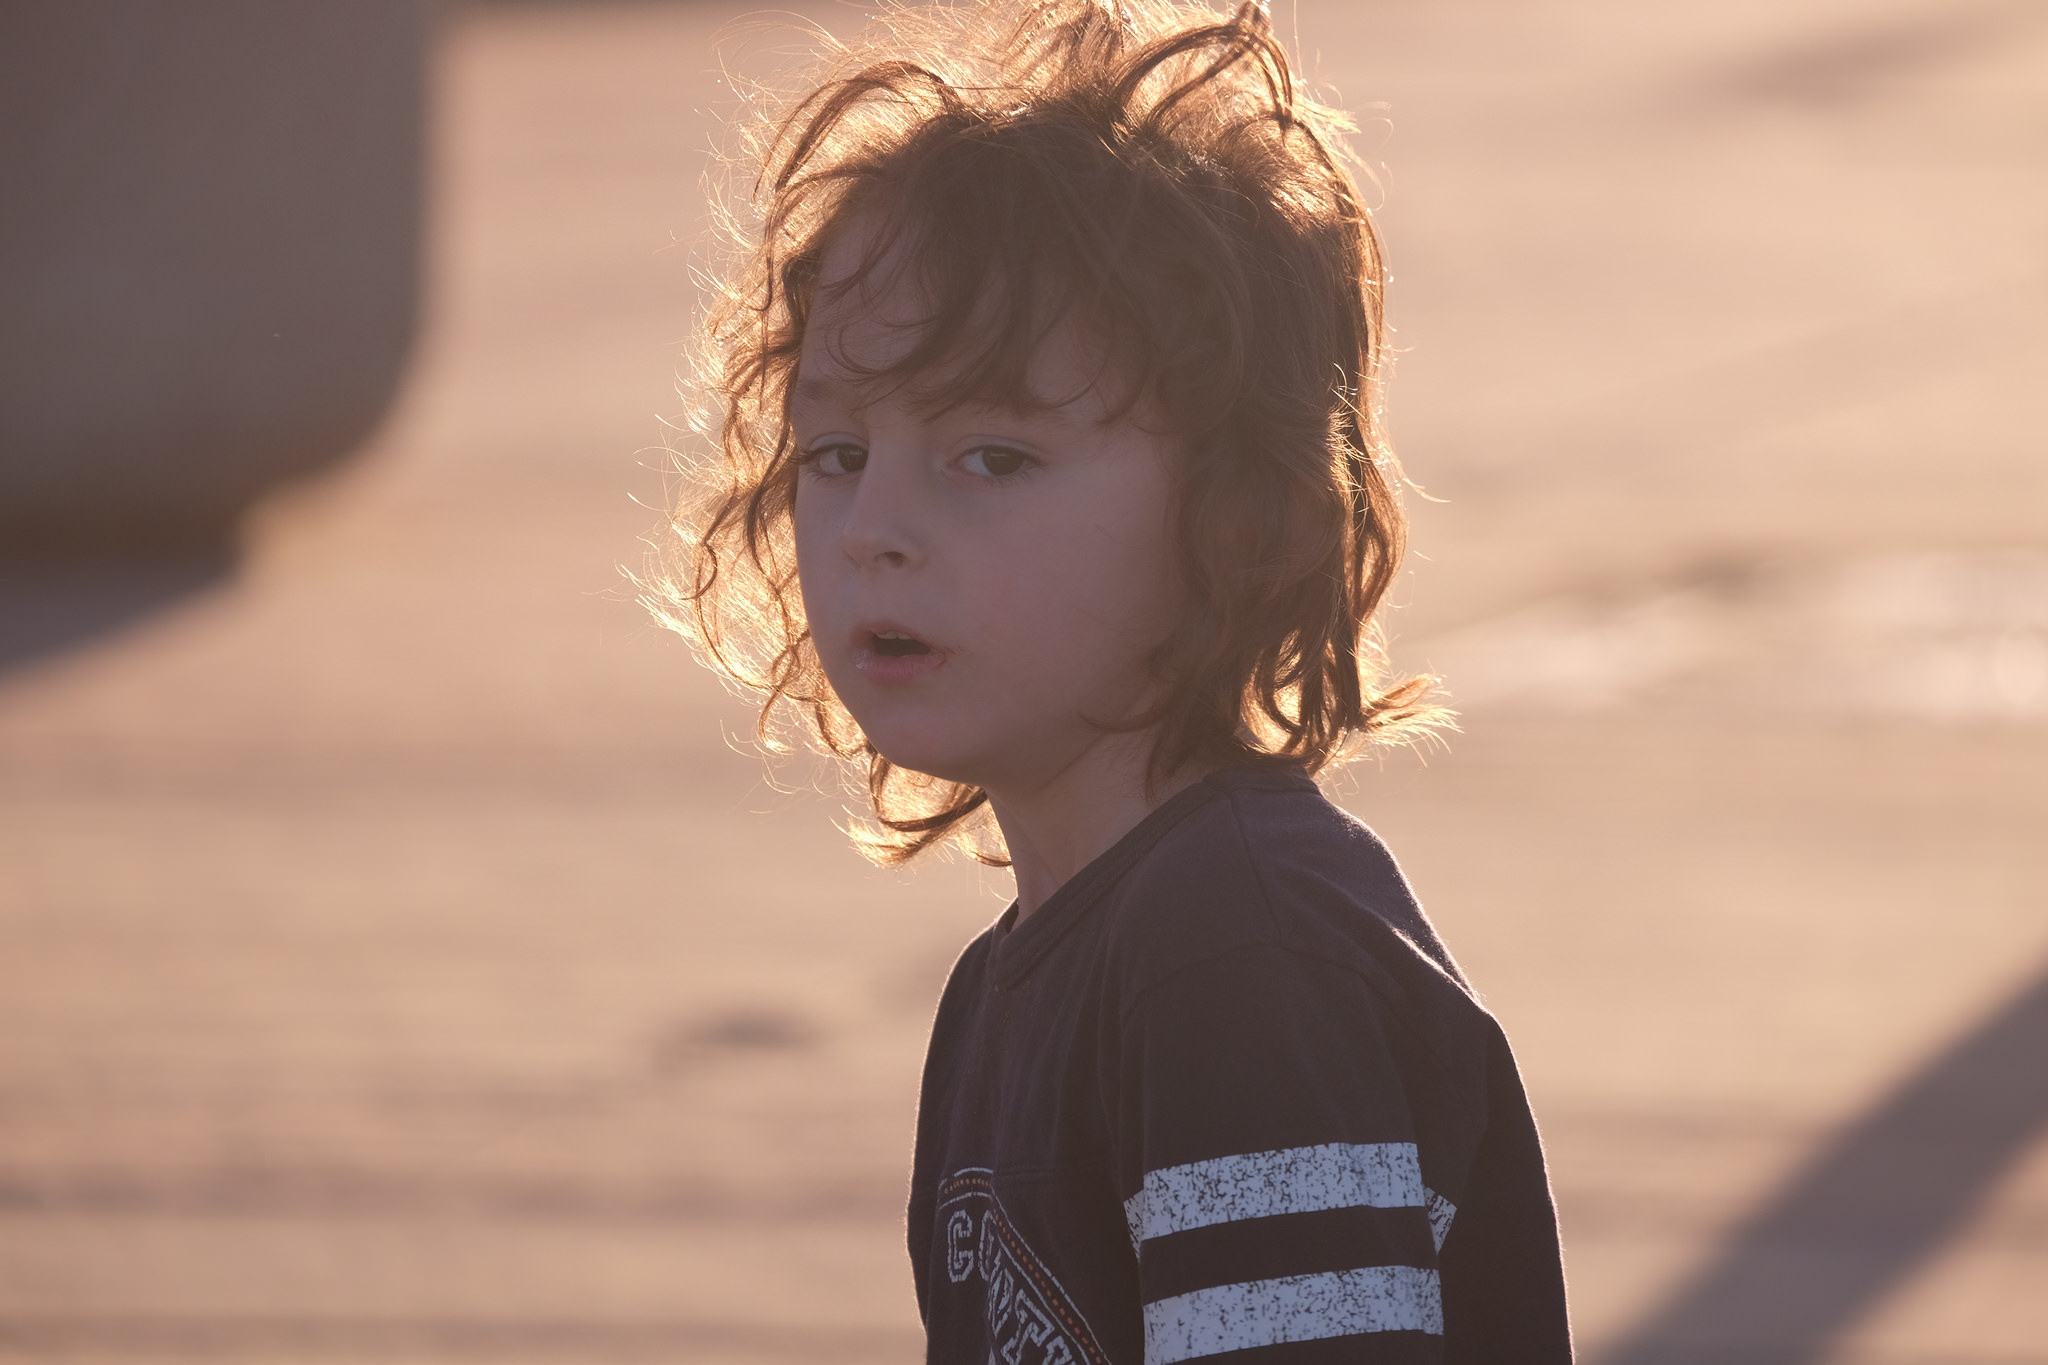
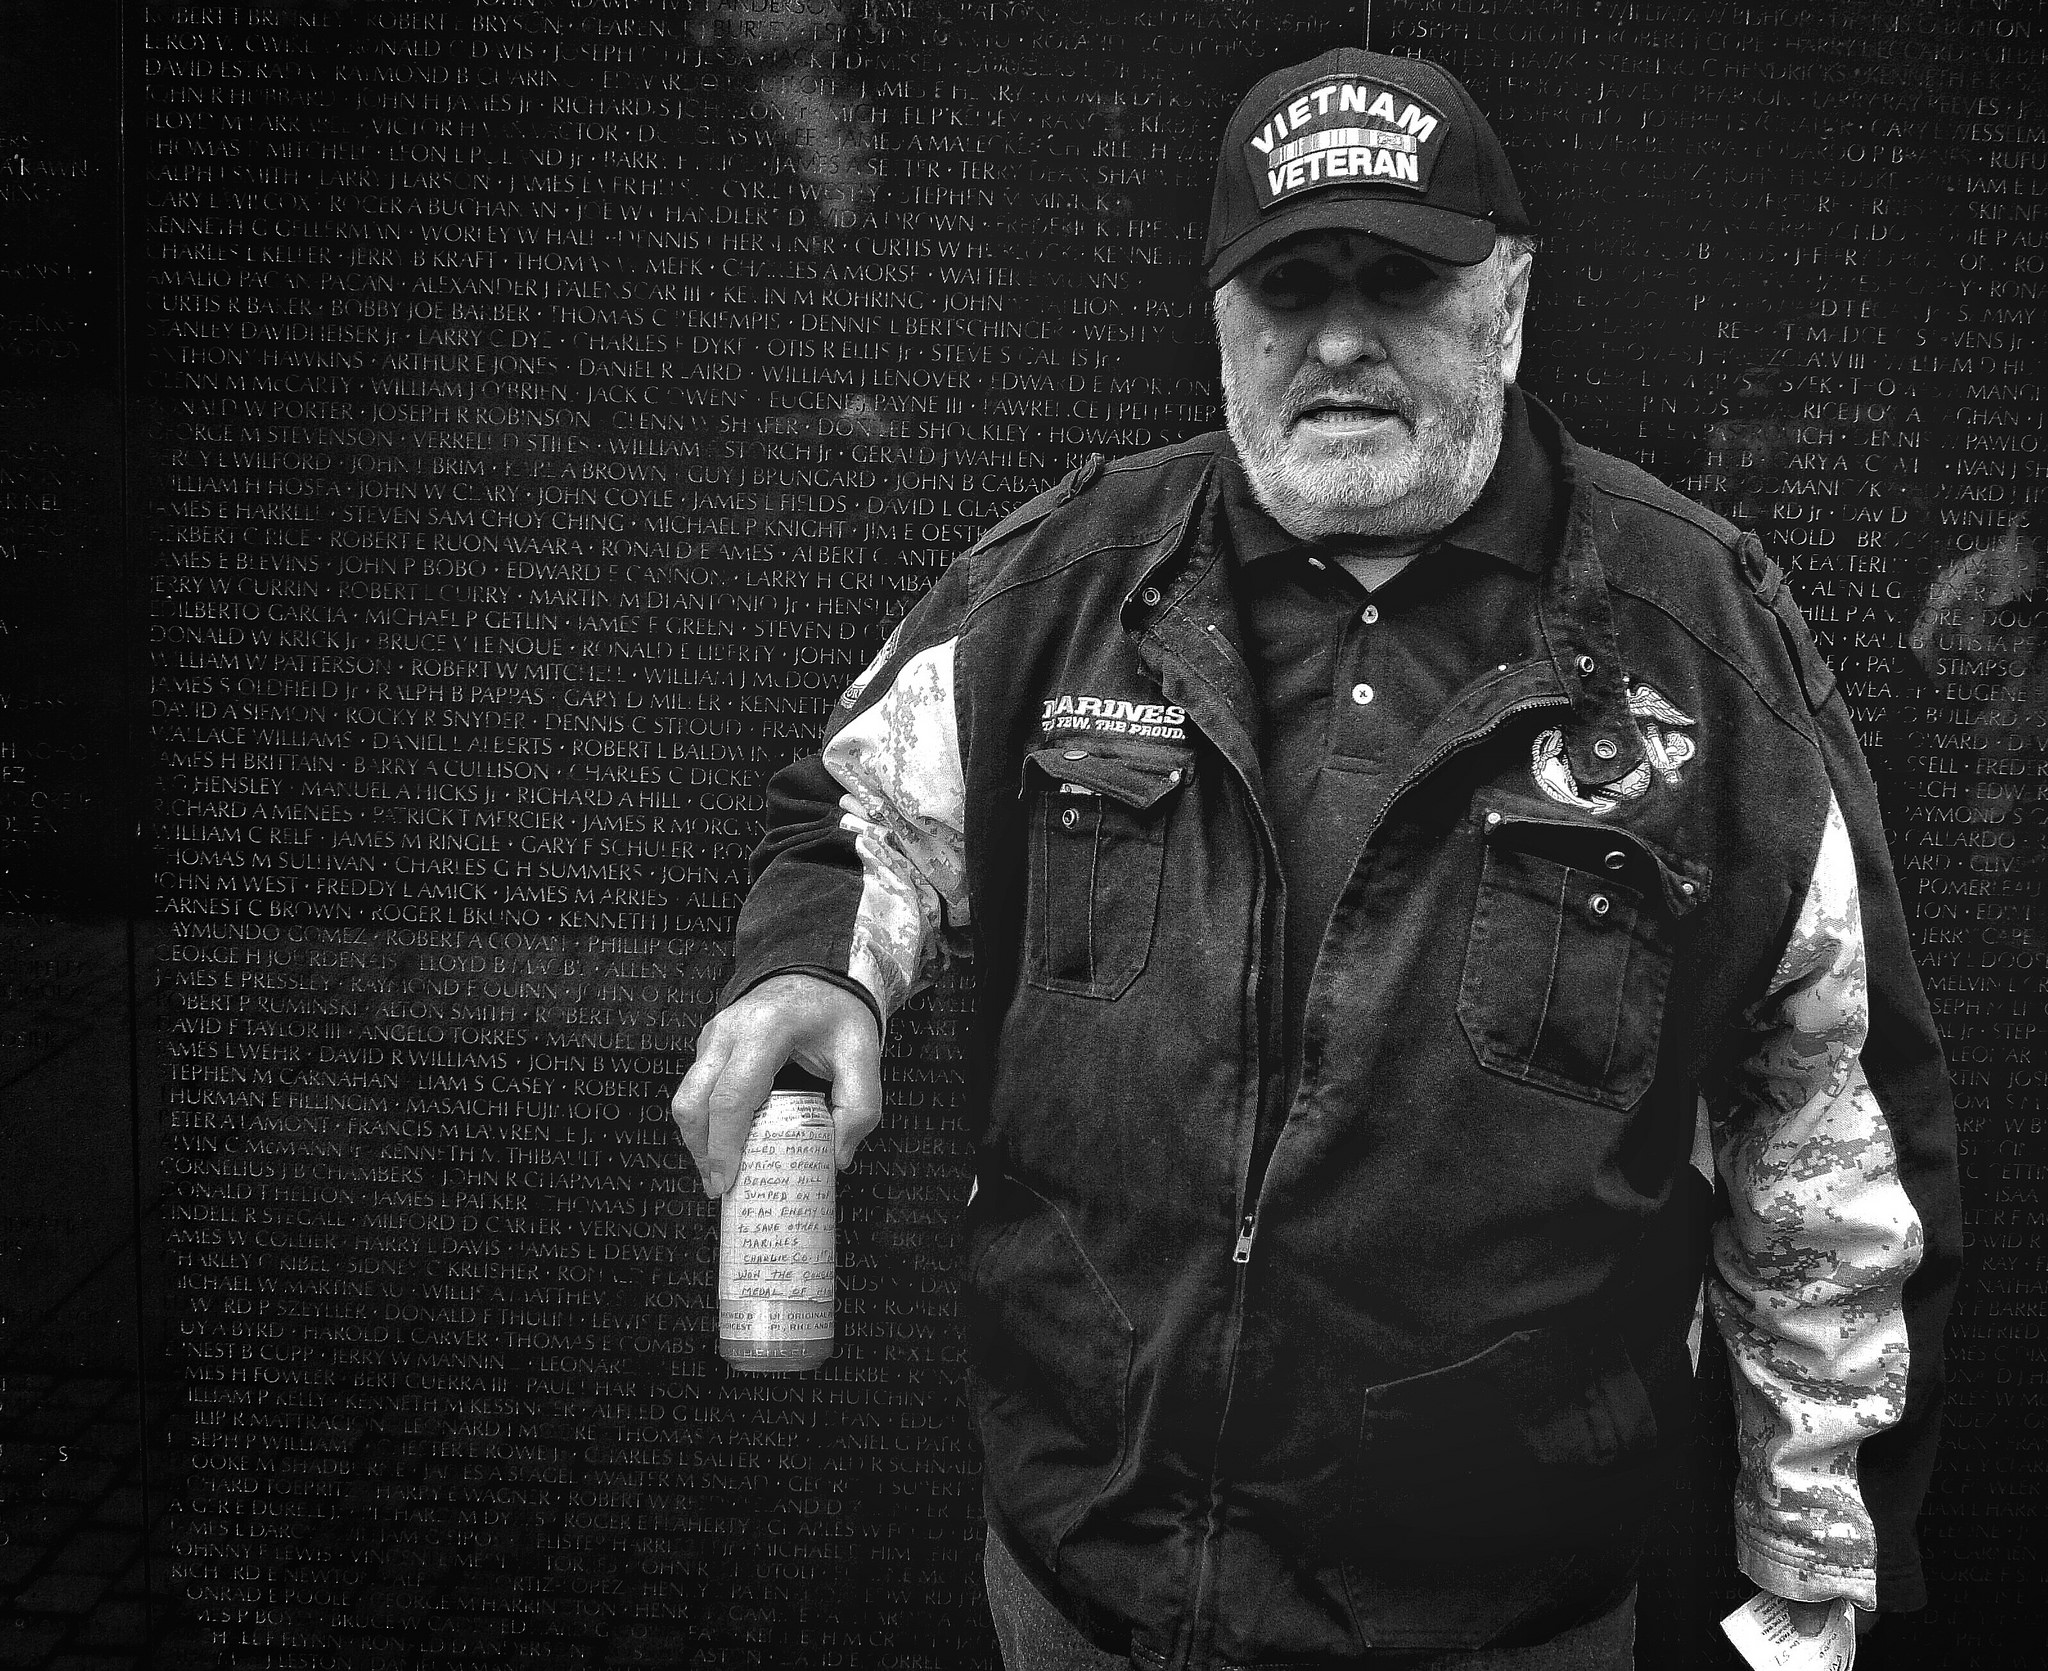
Photos by Matt Brass